
Scratch building roof tiles for 1/24 Provence diorama
As I couldn’t find any material or item I would simply cut into small replicas of roof tiles, I had to think about how to made it. If any of my scratch building might be considered creative, that one would fit. I was literally experimenting during the process, without knowing where it will bring me. Happy to say, that all turned out to work perfectly.
I did my study homework:

And here we go:
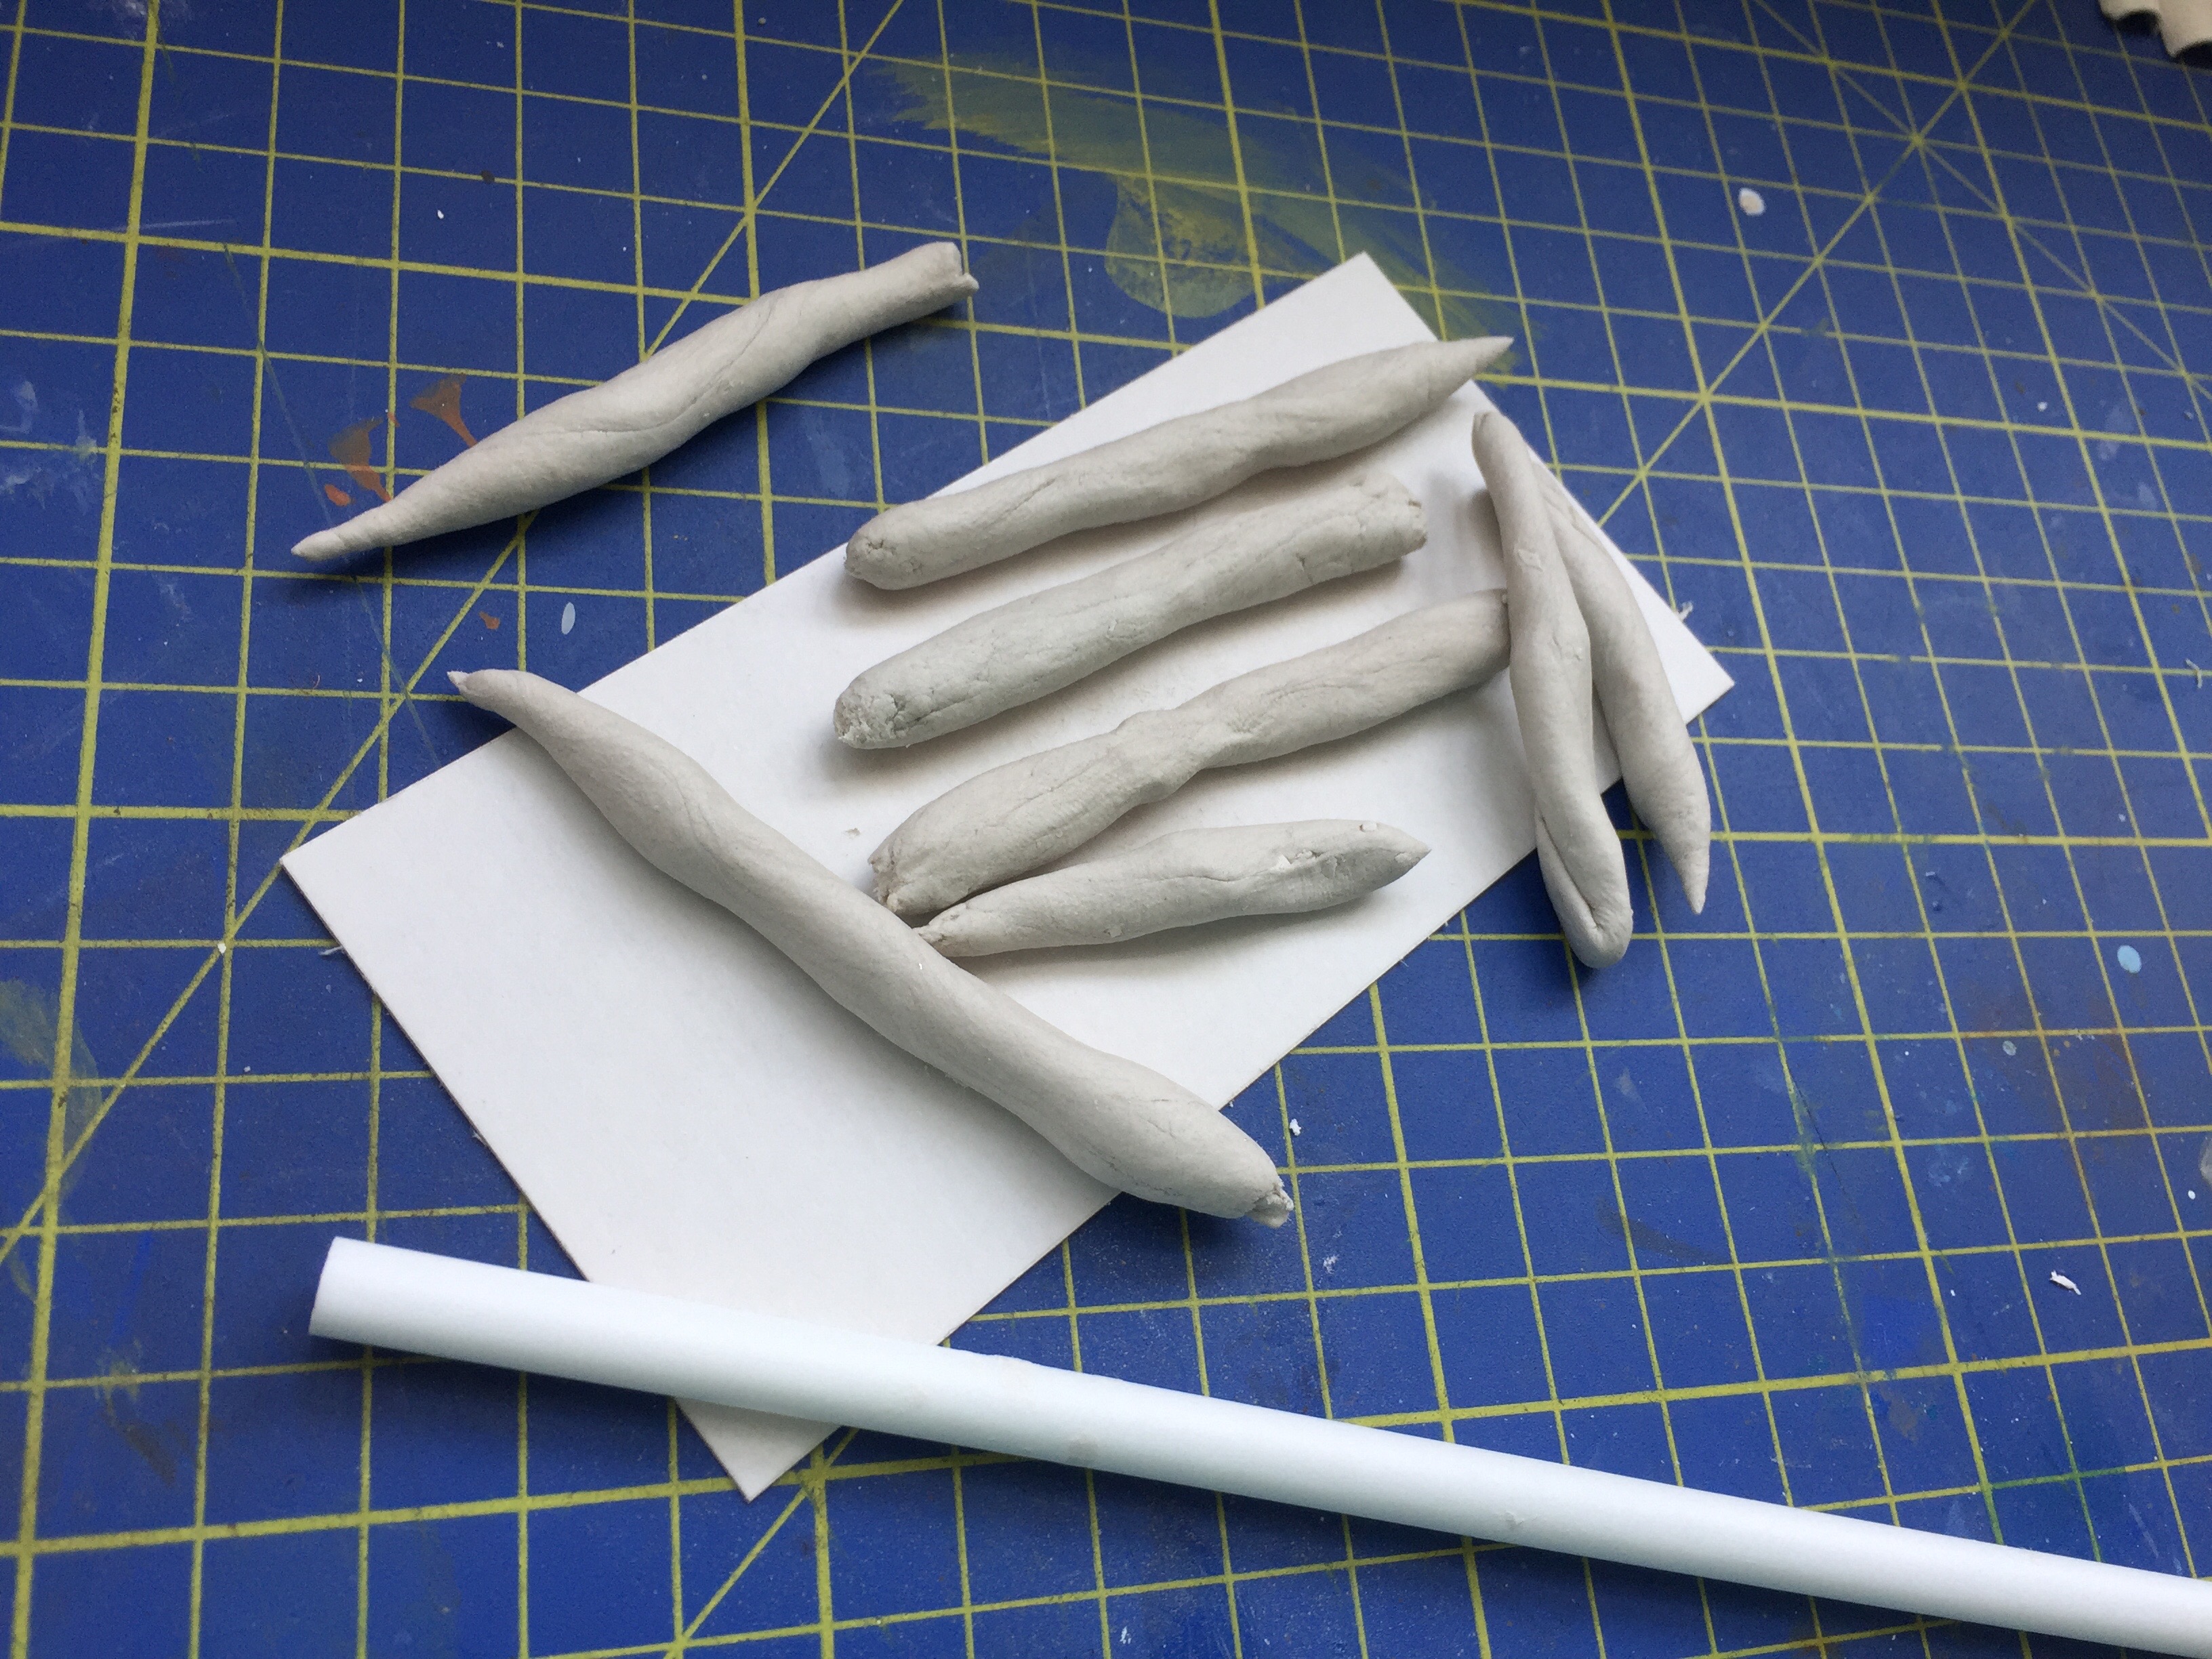
1. I created thin rolls of DAS air hardening pasta and rolled over each of them with a biggest plastic tube I had found around. Be careful, DAS pasta can easily get sticked to the mat, so use a few drops of water or roll over it on slippery mat. Roll over the paste until it gets proper thickness of about 1 mm.

2. The most funny part. I gently peeled the paste from the mat and hanged it on wardrobe hangers. It shrinks a bit during hardening process.

3. After few days air-hardening paste gets really solid. With simple push of finger it jumps from hanger stick. Work carefully as material is really fragile and can break down easily. Well, exactly as real roof tile. At that phase it still looks really ugly.
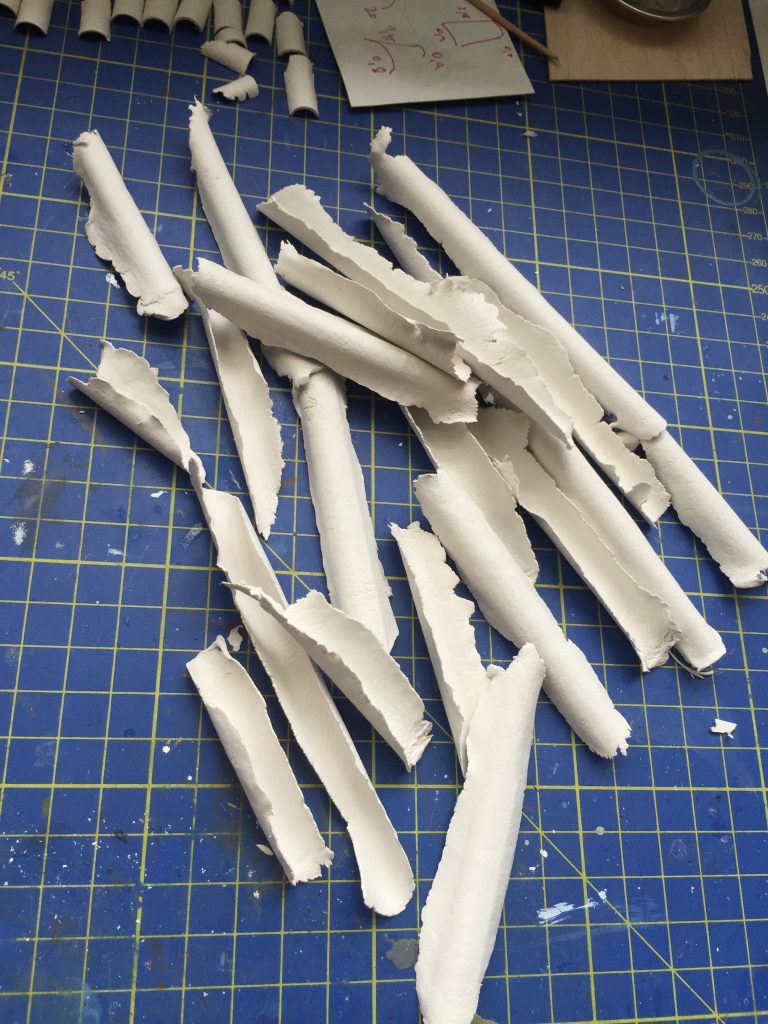
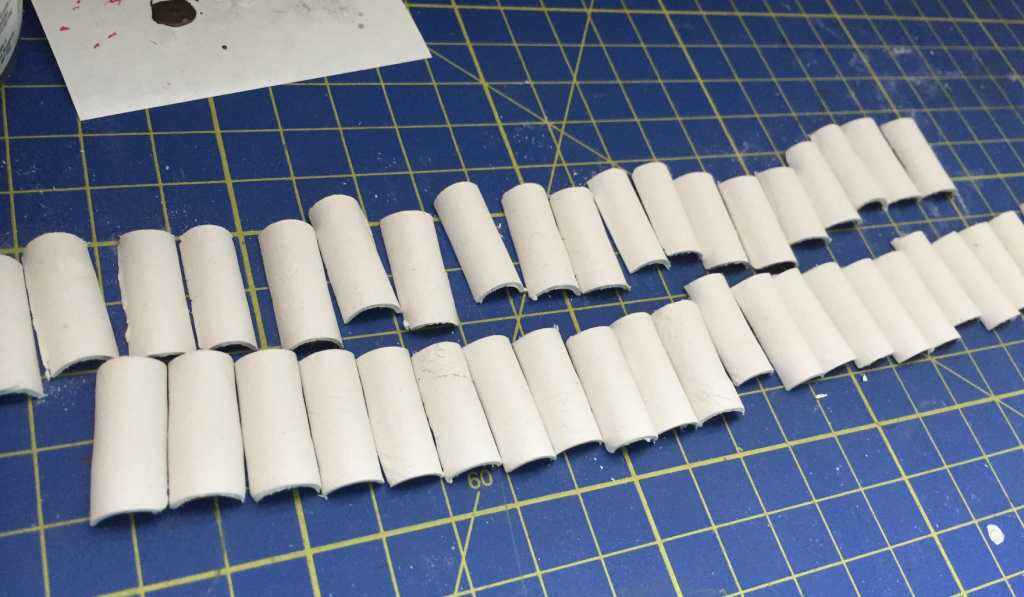
4. I didn’t make any guidelines for following step: I simply took scissors and started to cut hanging sides of hardened tile walls. As you can see below, tiles weren’t 100% unified. But I didn’t mind as it all just helped to create realistic vivid look.
5. Before I glued them on wooden construction I had painted them in 6 different shadows. Some were brighter, burnt out from sun. some where darker with significant traces left by accumulated dirt.

6. See the completely assembled roof before I applied weathering product. Notice white stucco I used to fix tiles top tiles and basically. It reproduces cement that is used to secure protection and to prevent water leaking.

7. Final touch after applying weathering products:
