
Painting aged Zetor 25 in 1/35 scale
Here you can see original machine I tried to fit:

Here it is how I followed step by step:
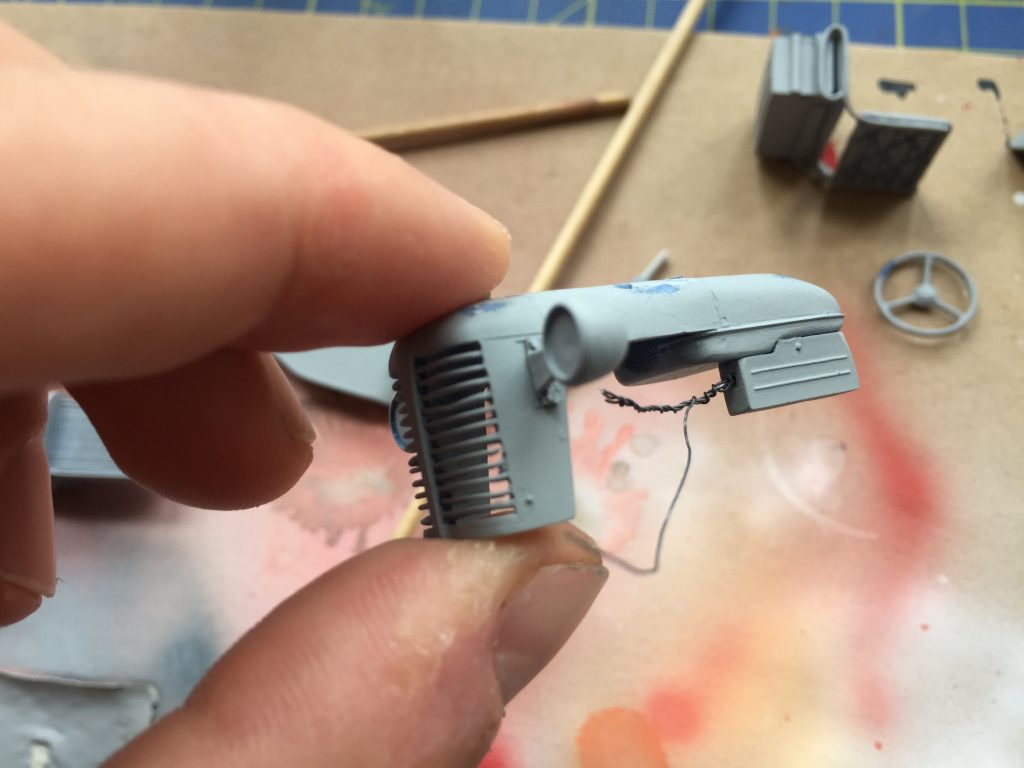
1. I broke few ribs in a front grill and I added some wiring to headlamps to achieve for more realistic effect.
2. I started with resin primer. After I left it to dry for a week, I used Tamiya putty to cover little final imperfections. I added rust primer, highlighted in a random fashion with bright yellow.

3. I put thin layer of scratches effect and shortafter it got dry I applied layer of red. While keeping an eye on the original pictures of aged Zetor, I used brush and tooth pick to reproduce exact scratches.

4. The same round for the white color layer.
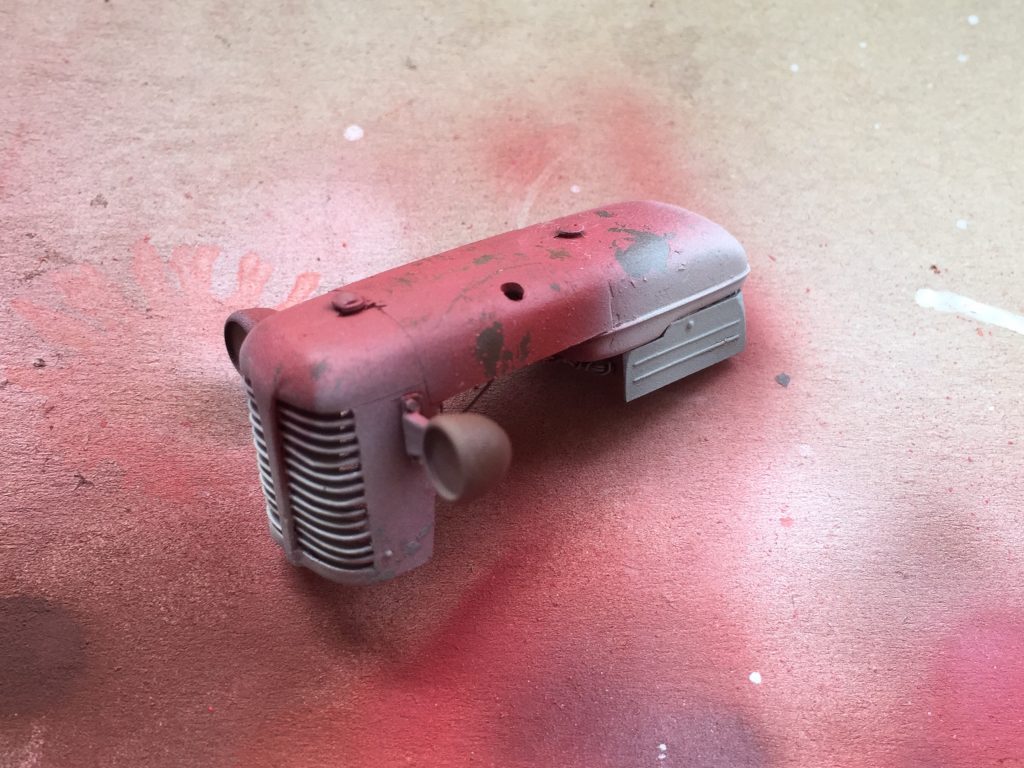

5. I worked carefully. To prevent any damages I used masking tape before I applied scratches effect and blue color. I rather worked in small areas. When I don’t care much about how are the scratches organised, I can work whole area at once. But once I want to follow original look, it takes more time to progress. I prefer color not to dry completely, so I always take one area I work with. I think I did blue in 3 separate runs: right, left and front side.


6. Before I move on to weathering I applied decals.
Again I work accordingly with original picture of aged Zetor I liked.
Finally I added some tiny black scratches with a soft touch of piece of sponge.
