
Building old cobblestone road, Provence, 1/24
I never made cobblestone road before and I have to tell you, I enjoyed the process a lot.
This is how it followed step by step:
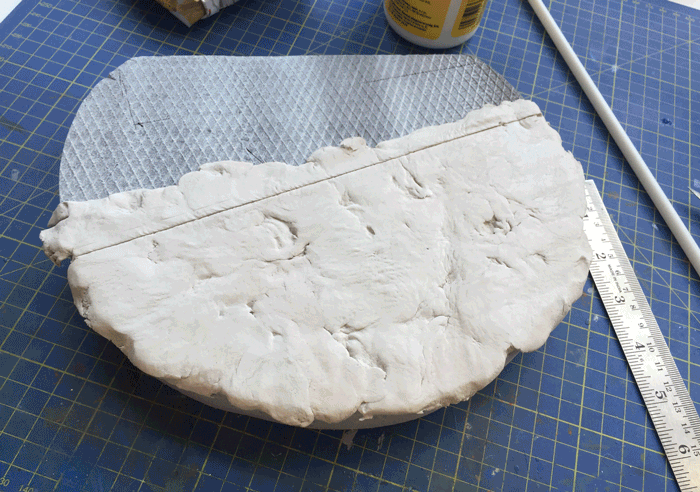
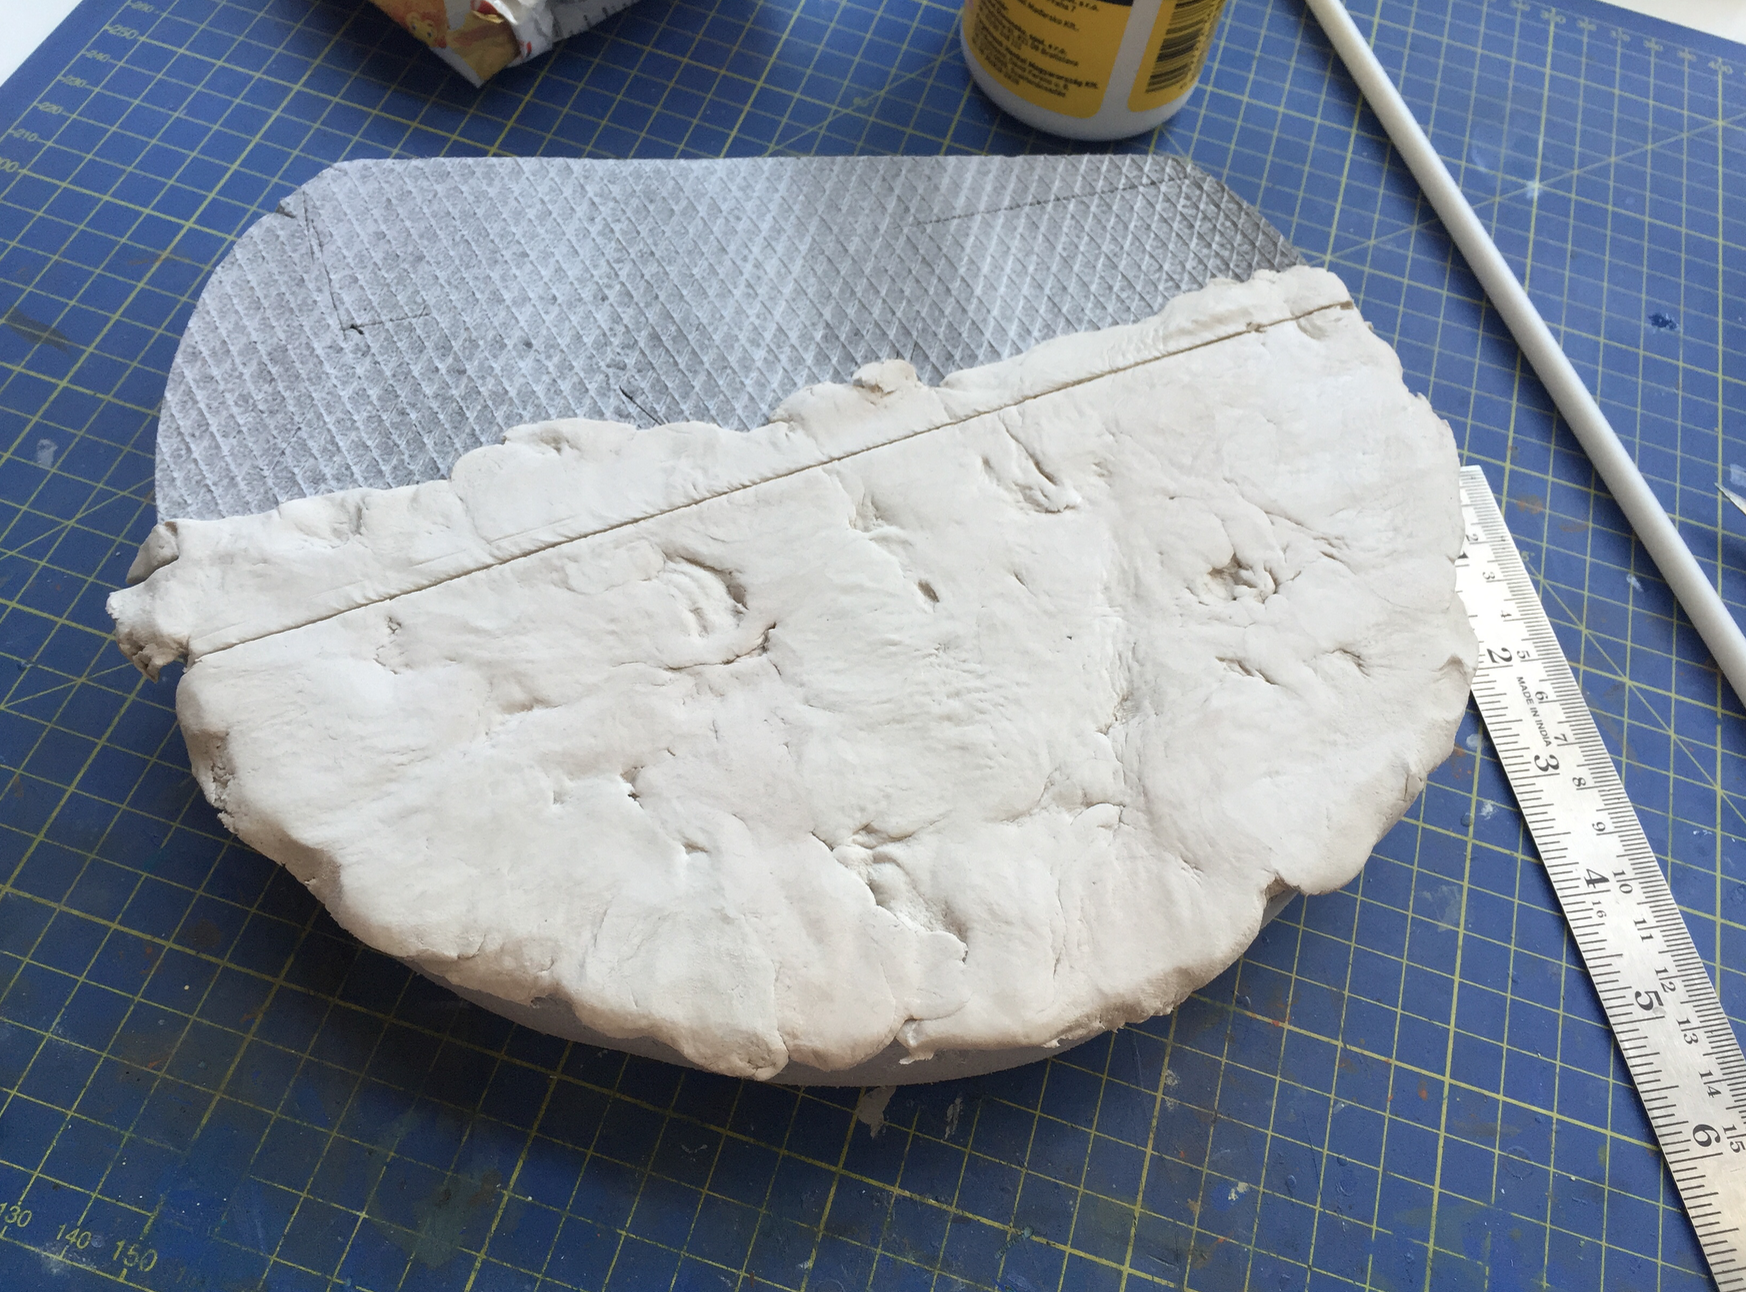
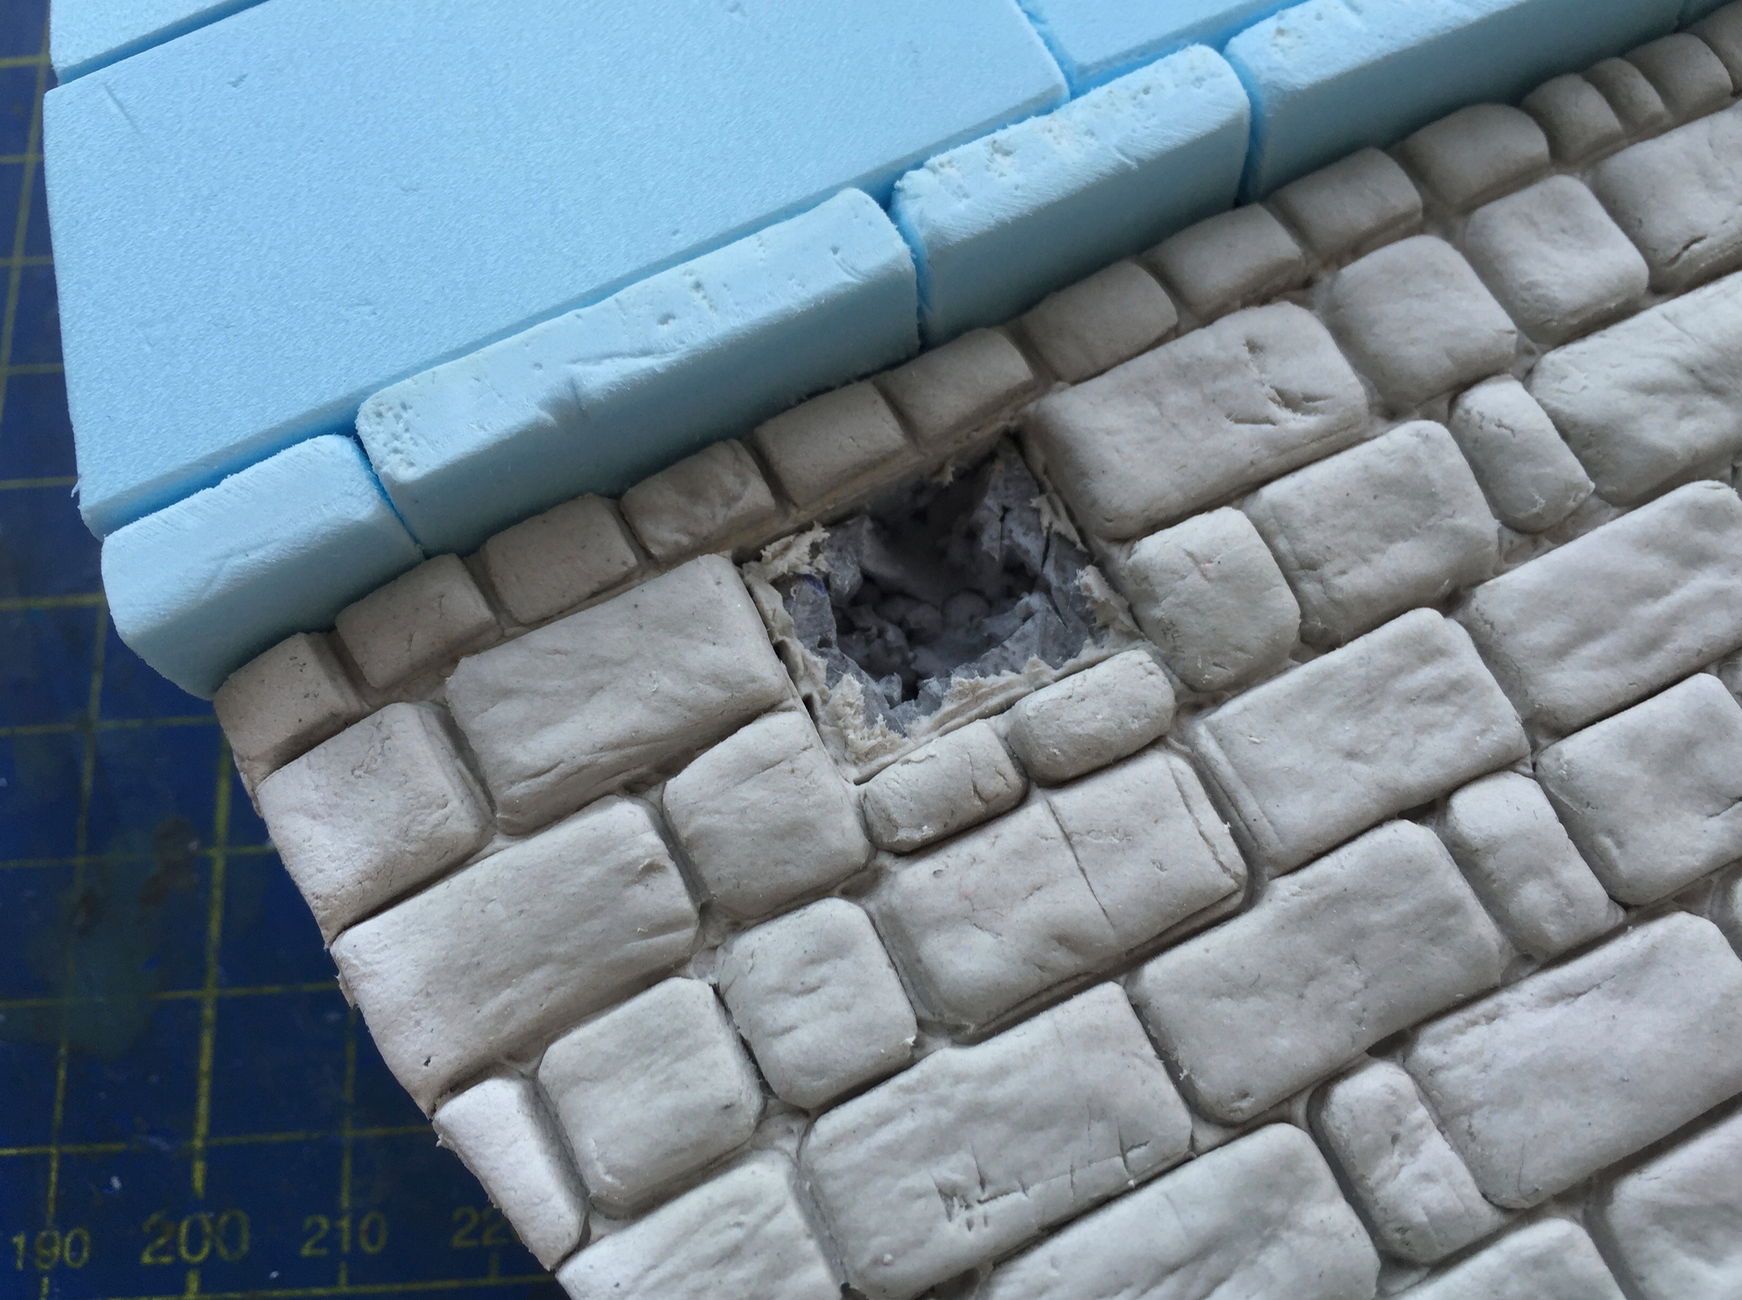
1. I started with air-hardening pasta DAS that I laid in a thick layer (0.5cm) all over the base that I had cut from styrodure before. As you can see I didn’t try to achieve completely flat and plane surface. Little random gaps, springs or hollows will add great richness and originality to the final result in next steps.
2. Before I even started the project, I had spent 2 days thinking what do I use for shaping cobblestones. Most of the time I do not produce my forms, I like thinking hard and looking around for any materials with specific parameters that I can use for my scratch building process. In that case I accidentally laid my eyes on a plastic cap covering VGA cables you can find in a box once buying an LCD screen or beamer. 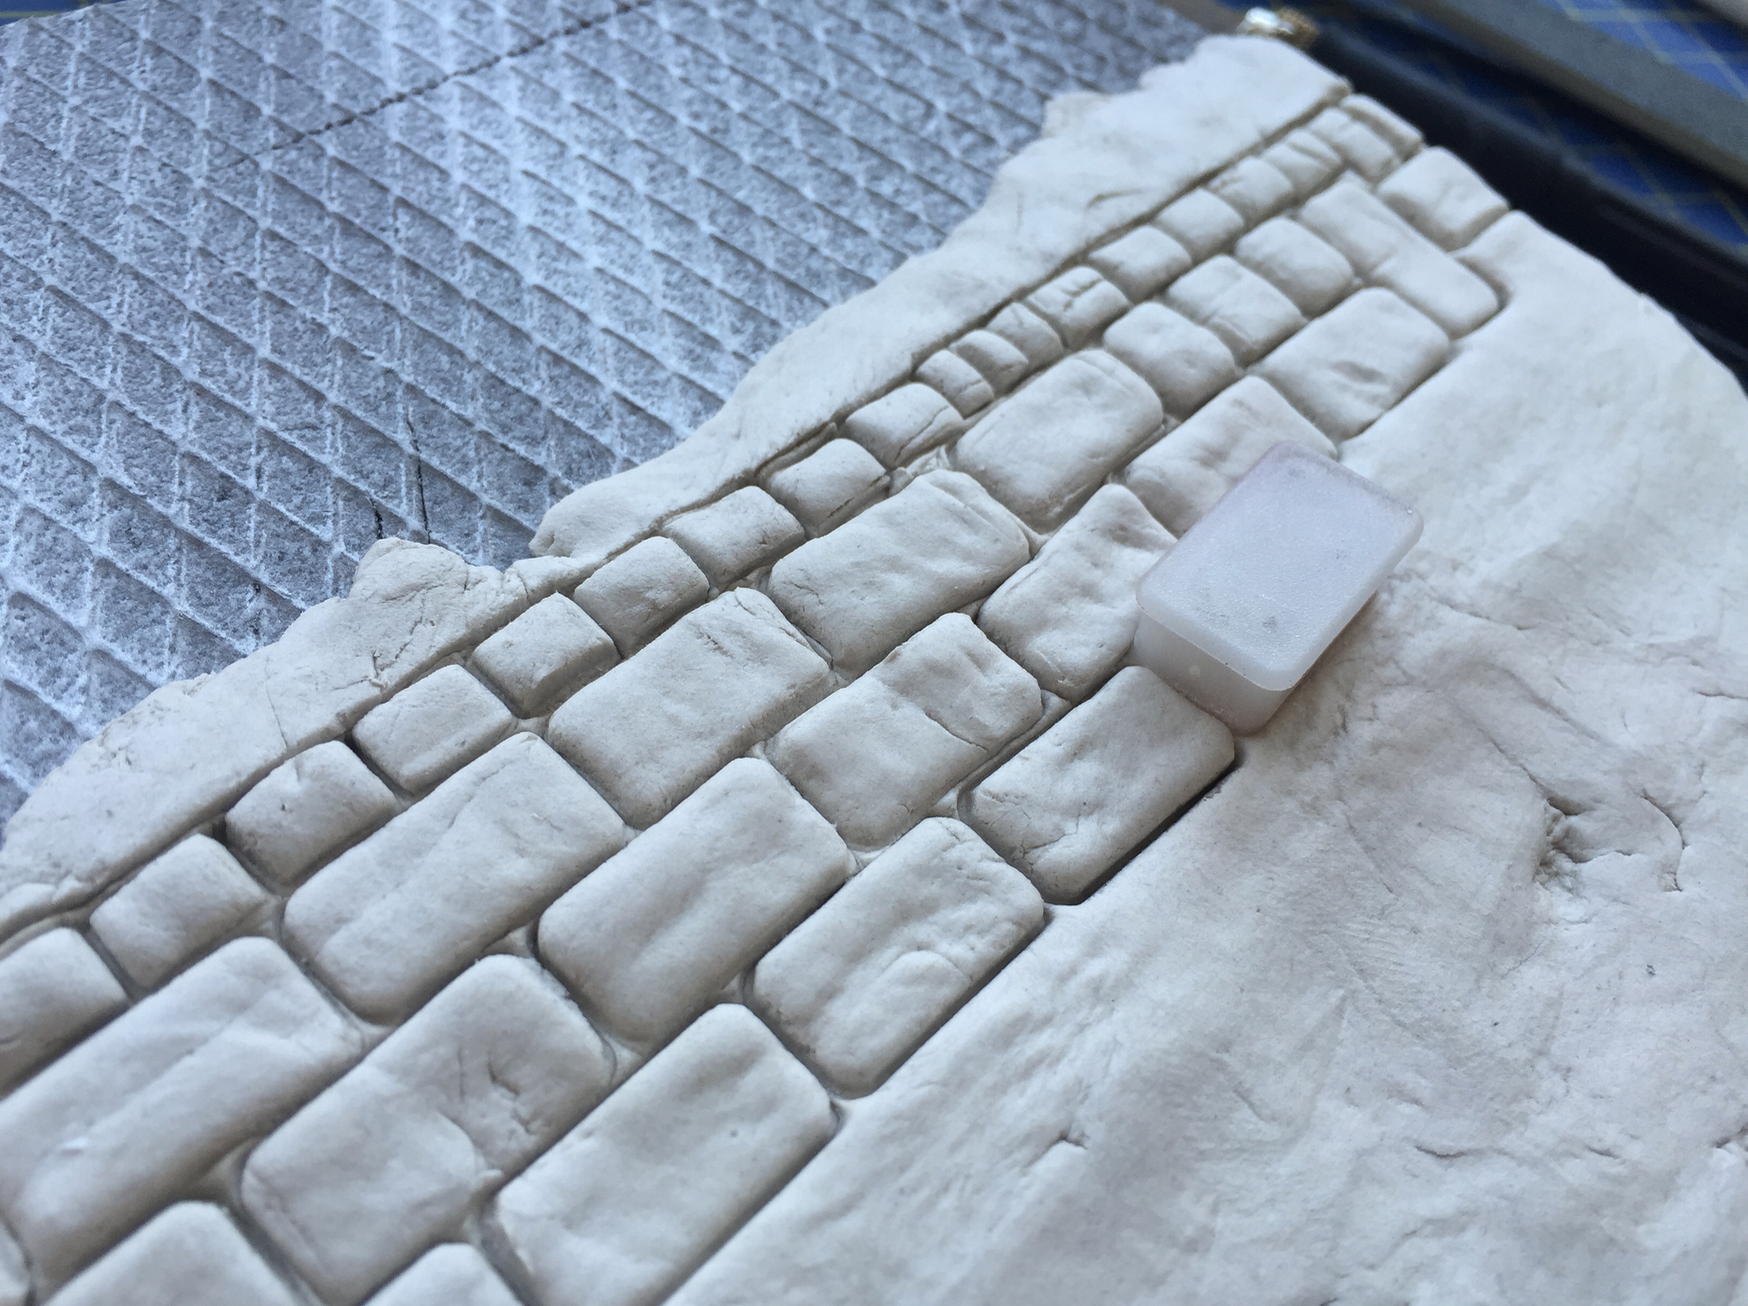
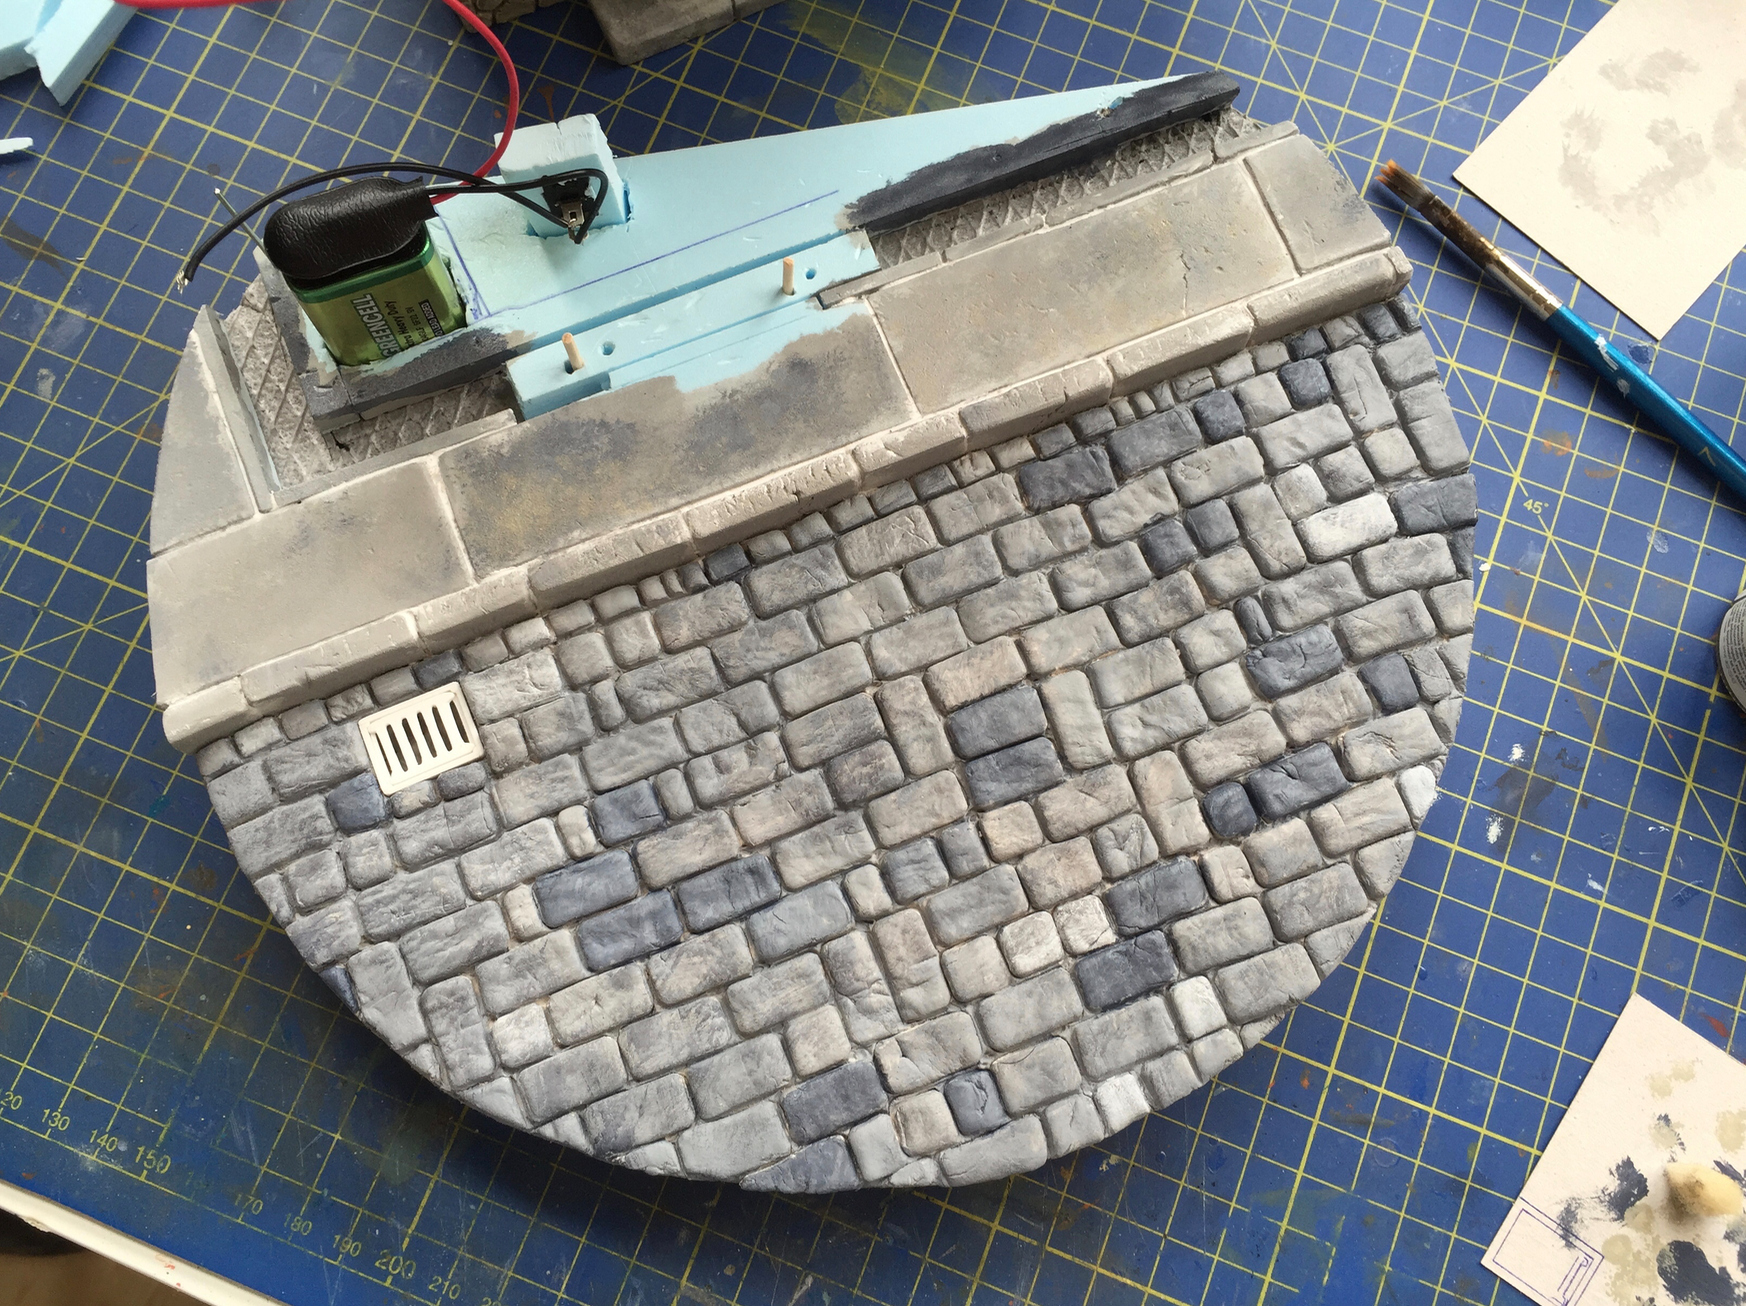
3. The big stones are created by imprinting the whole cap as seen above. Maybe it doesn’t look so, but I used the same cap fro the smaller ones too. I just imprinted gently one part, turned it over and imprinted the other one. In that way I was able to reproduce any size of cobblestones I wanted. As you can see I was not only changing the size, but also the direction of stones.
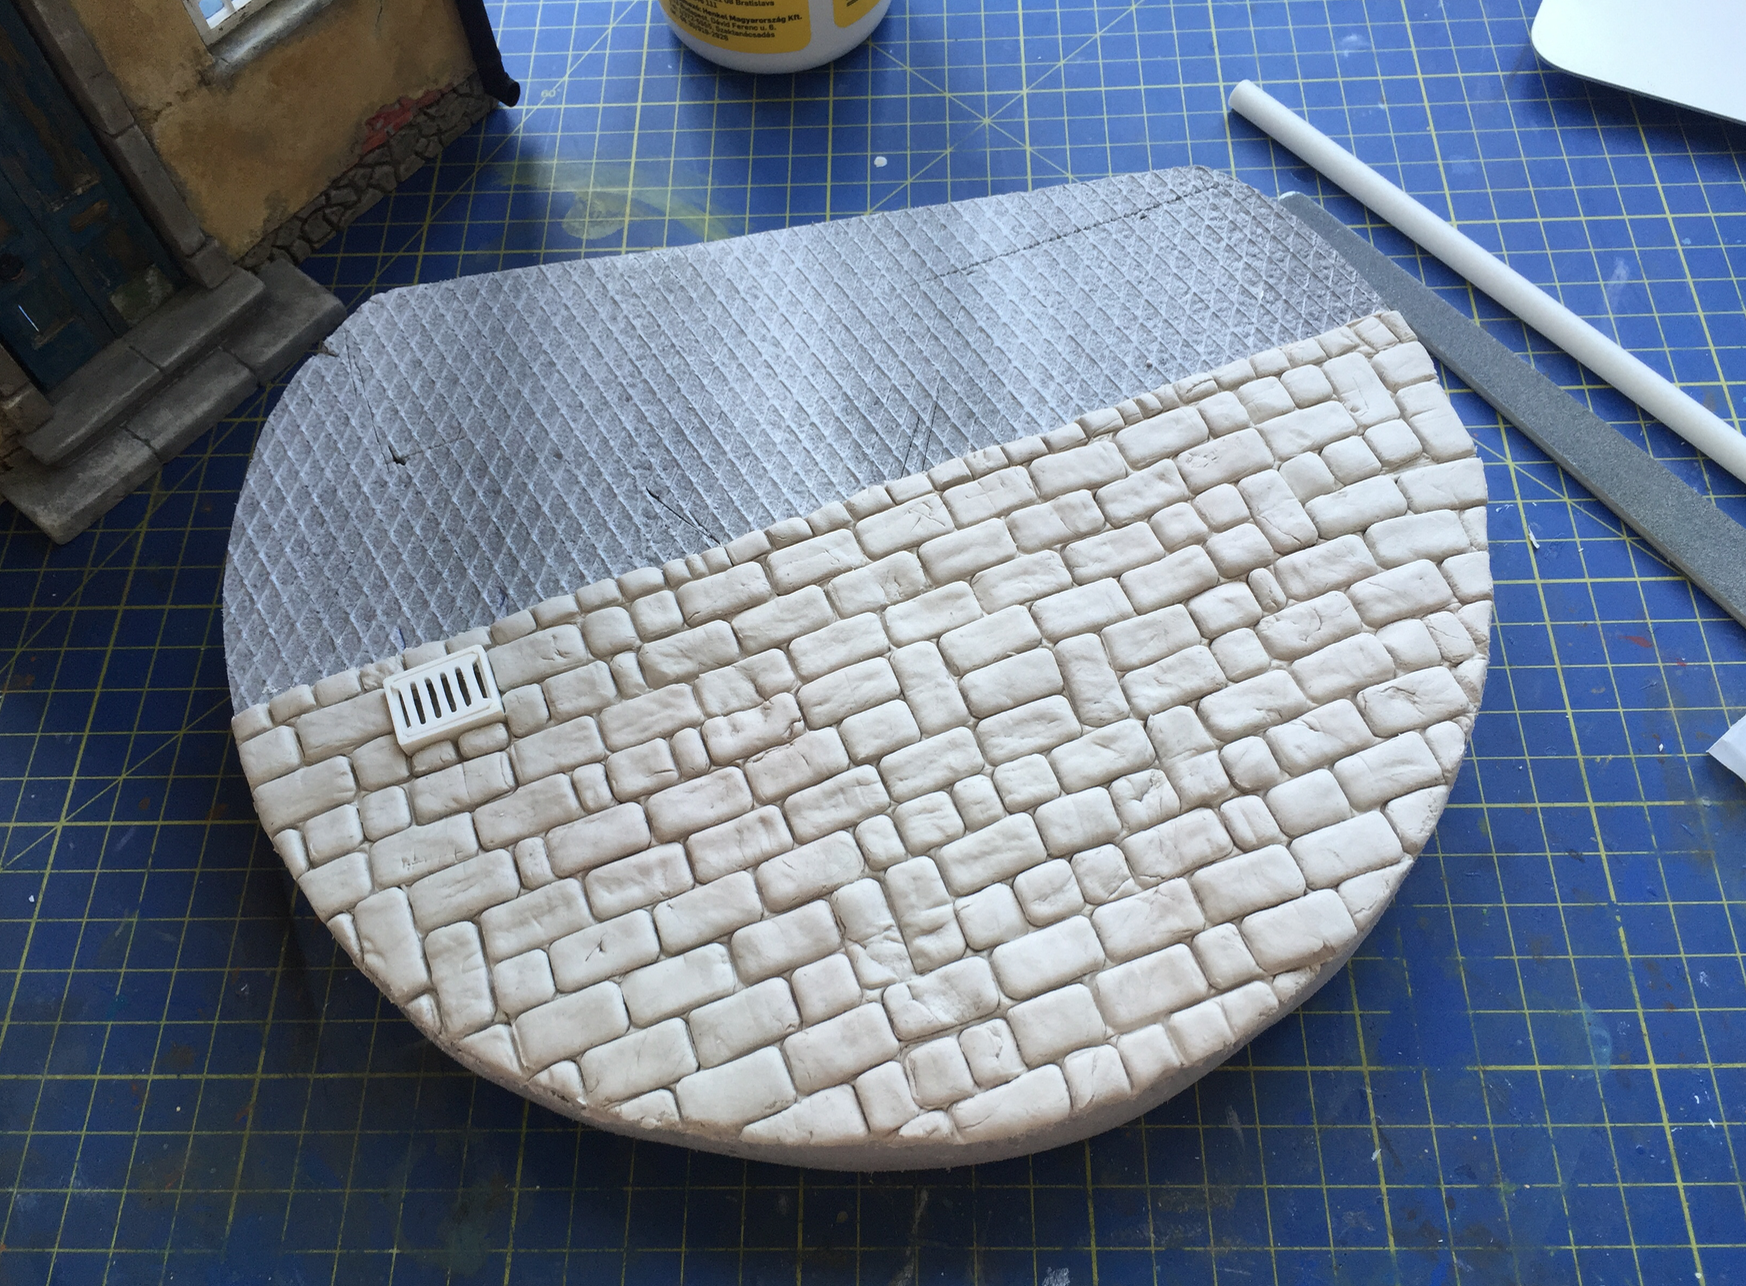
4. Once I left the modelling pasta hardened for few days, I cut a hole for the drain cover I planned to add at the final stage.
5. Painting and weathering process was pure delight. I started with 3 different colors I varied, mixed and toned by random fashion. Once it was done, I covered it with a decent coat of semi-gloss varnish.
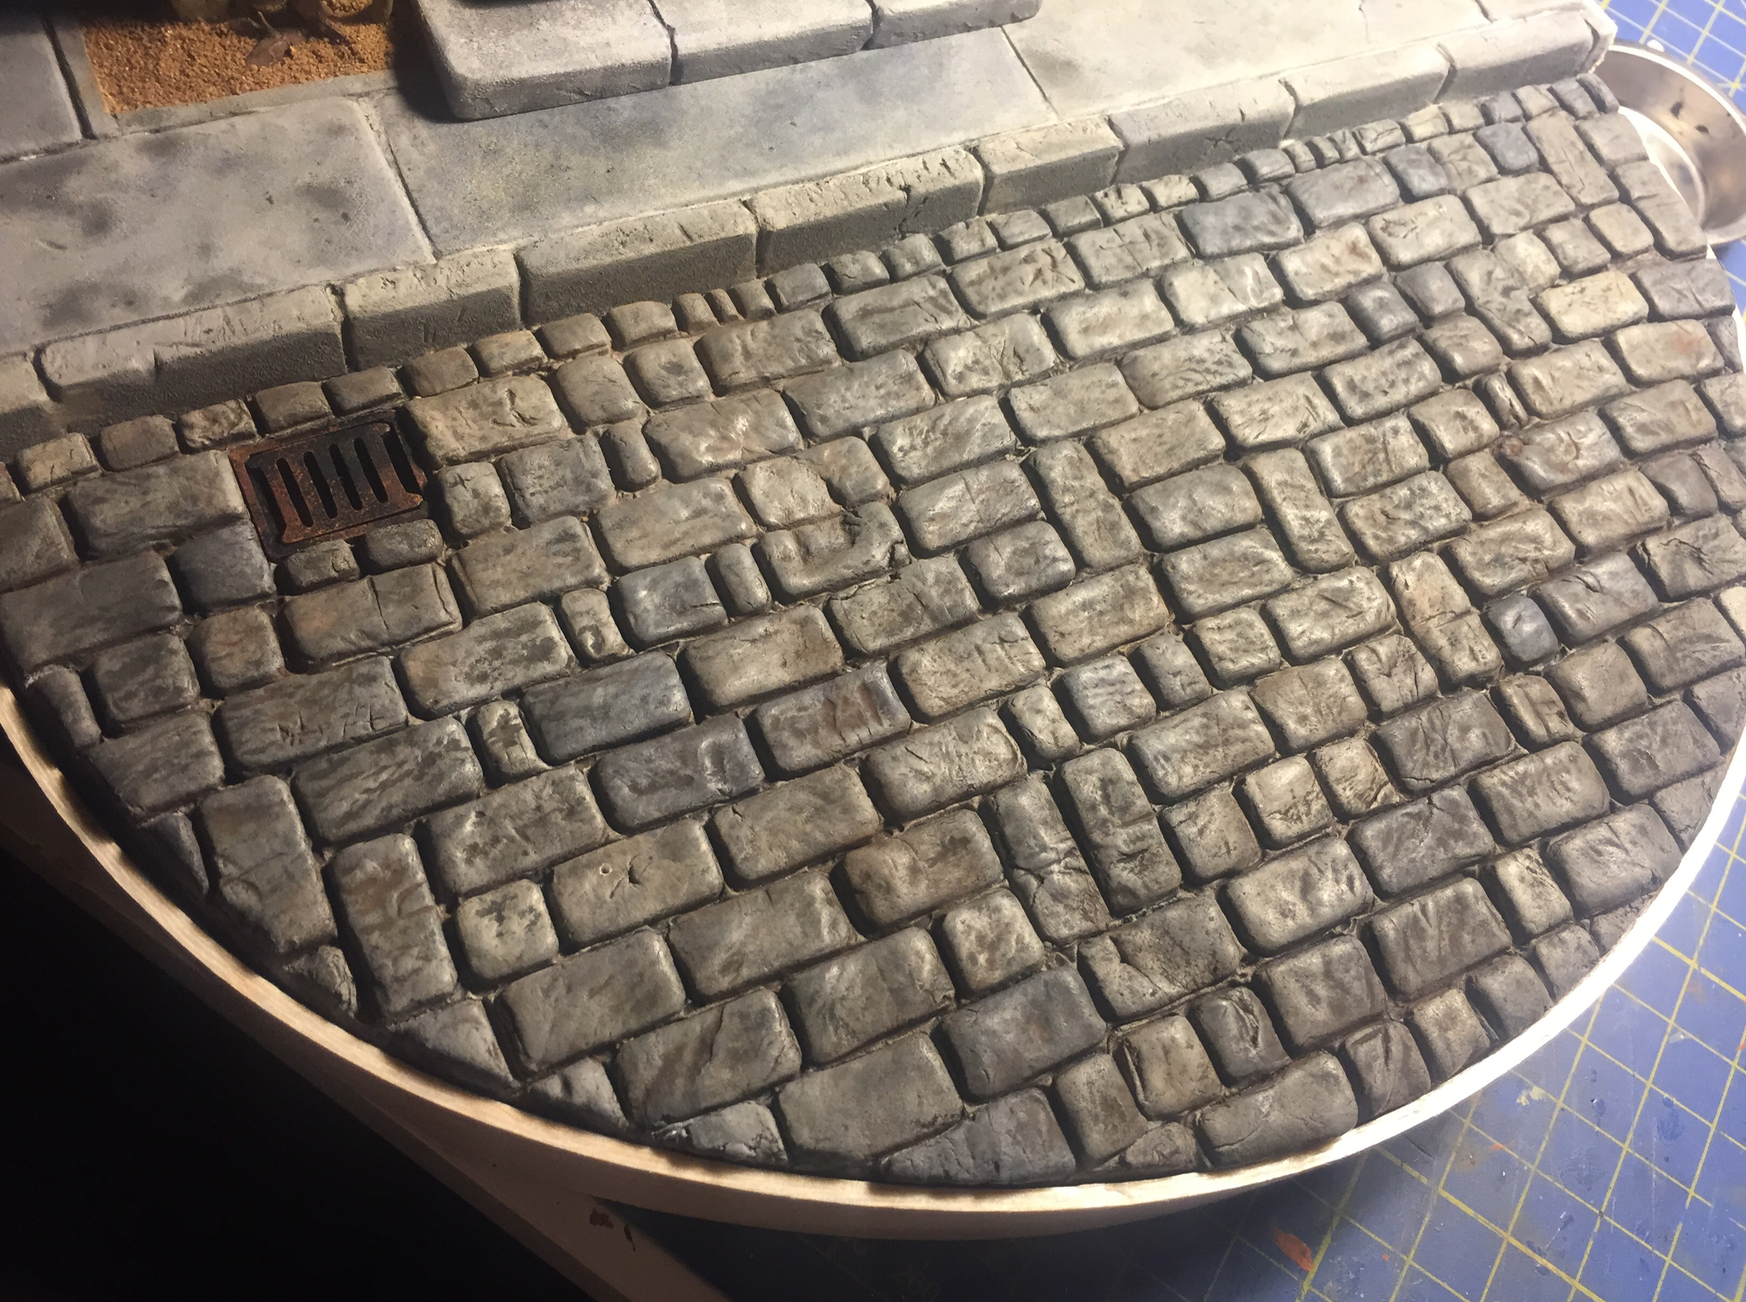
6. I followed with a 2 rounds of filters and washes I mixed or diluted, just to achieve desired effect.
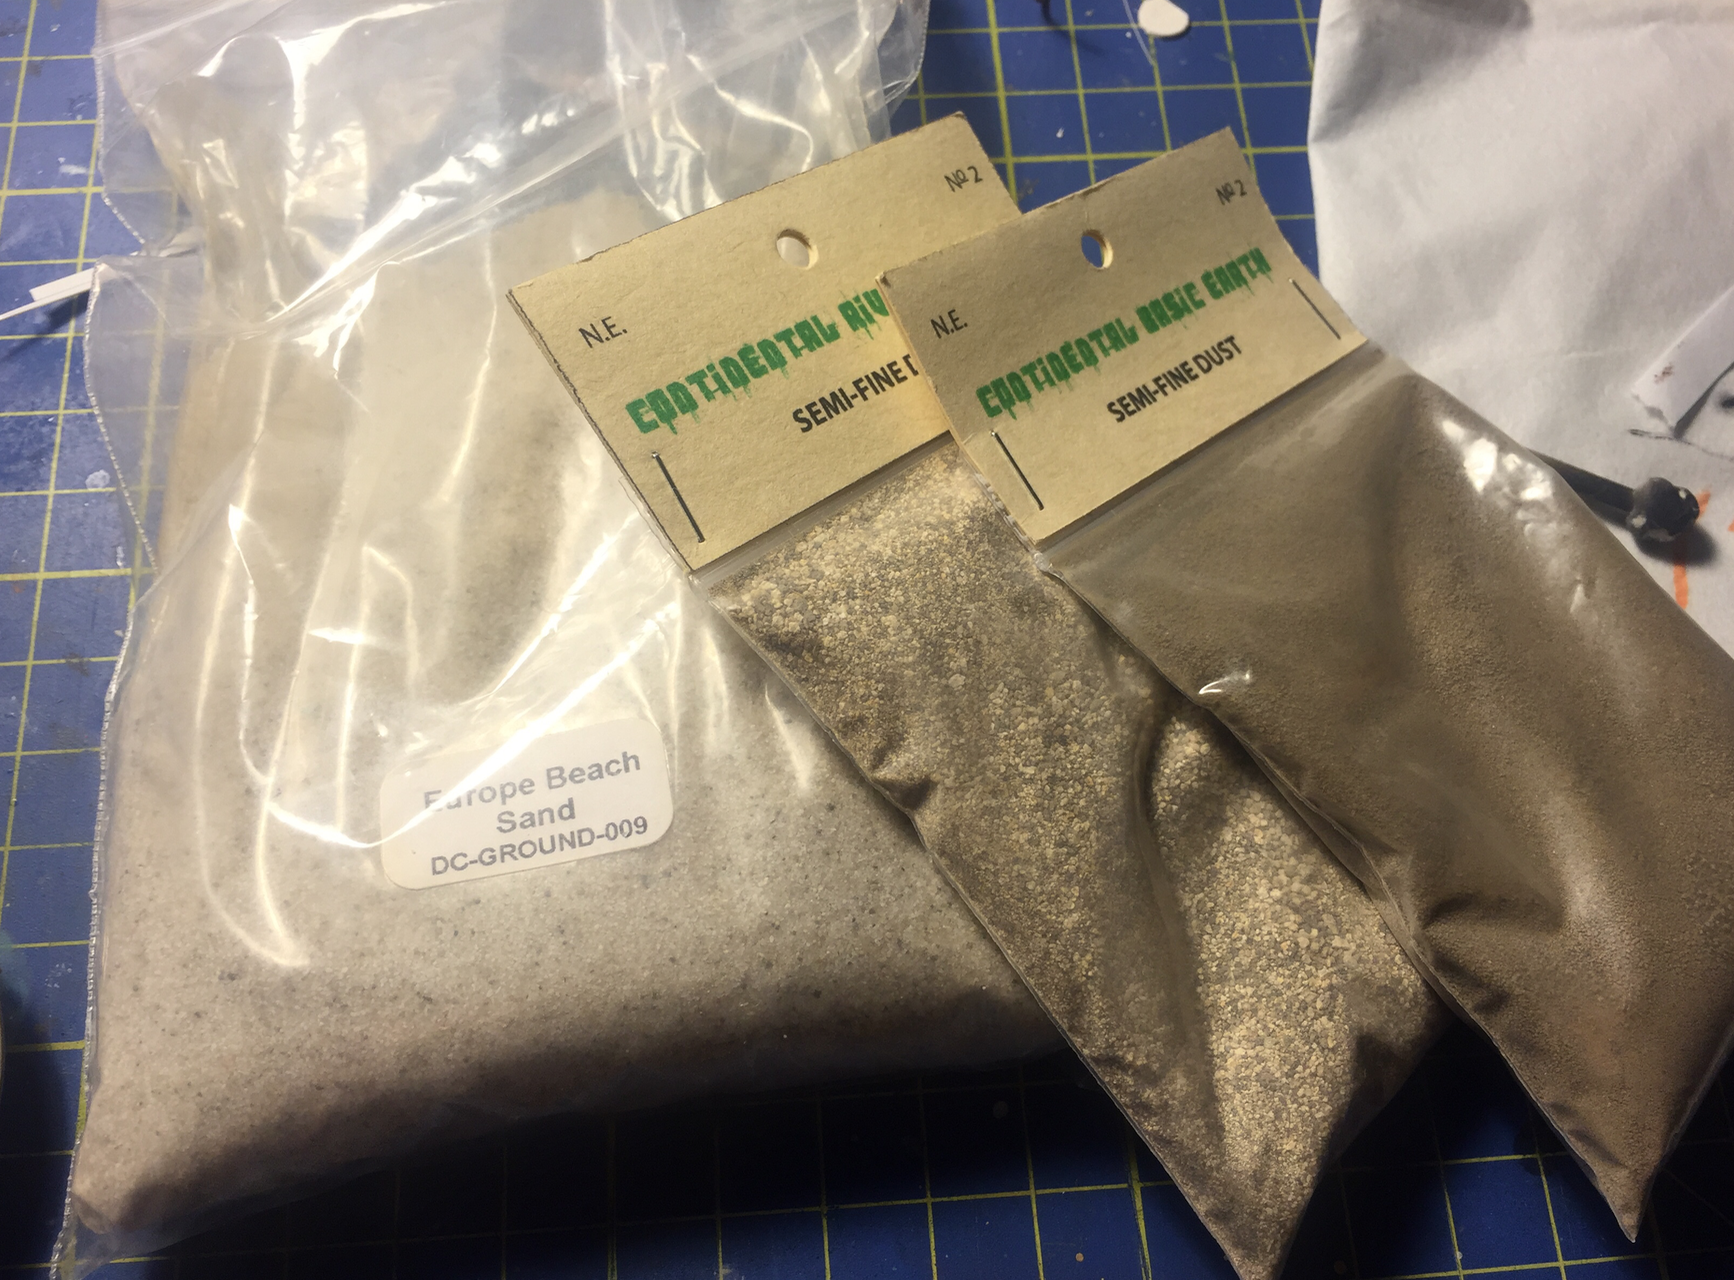
7. To fill gaps between cobblestones I mixed different dusts I collected over last years. Intentionally I voted for different sizes of grains to achieve richer effect and variety. I spread it over the road and I used fine thick brush to move it around. Once all the gaps were filled, I simply poured drops of sand & gravel fixer on it. The process went fast. as capillarity did the rest of work.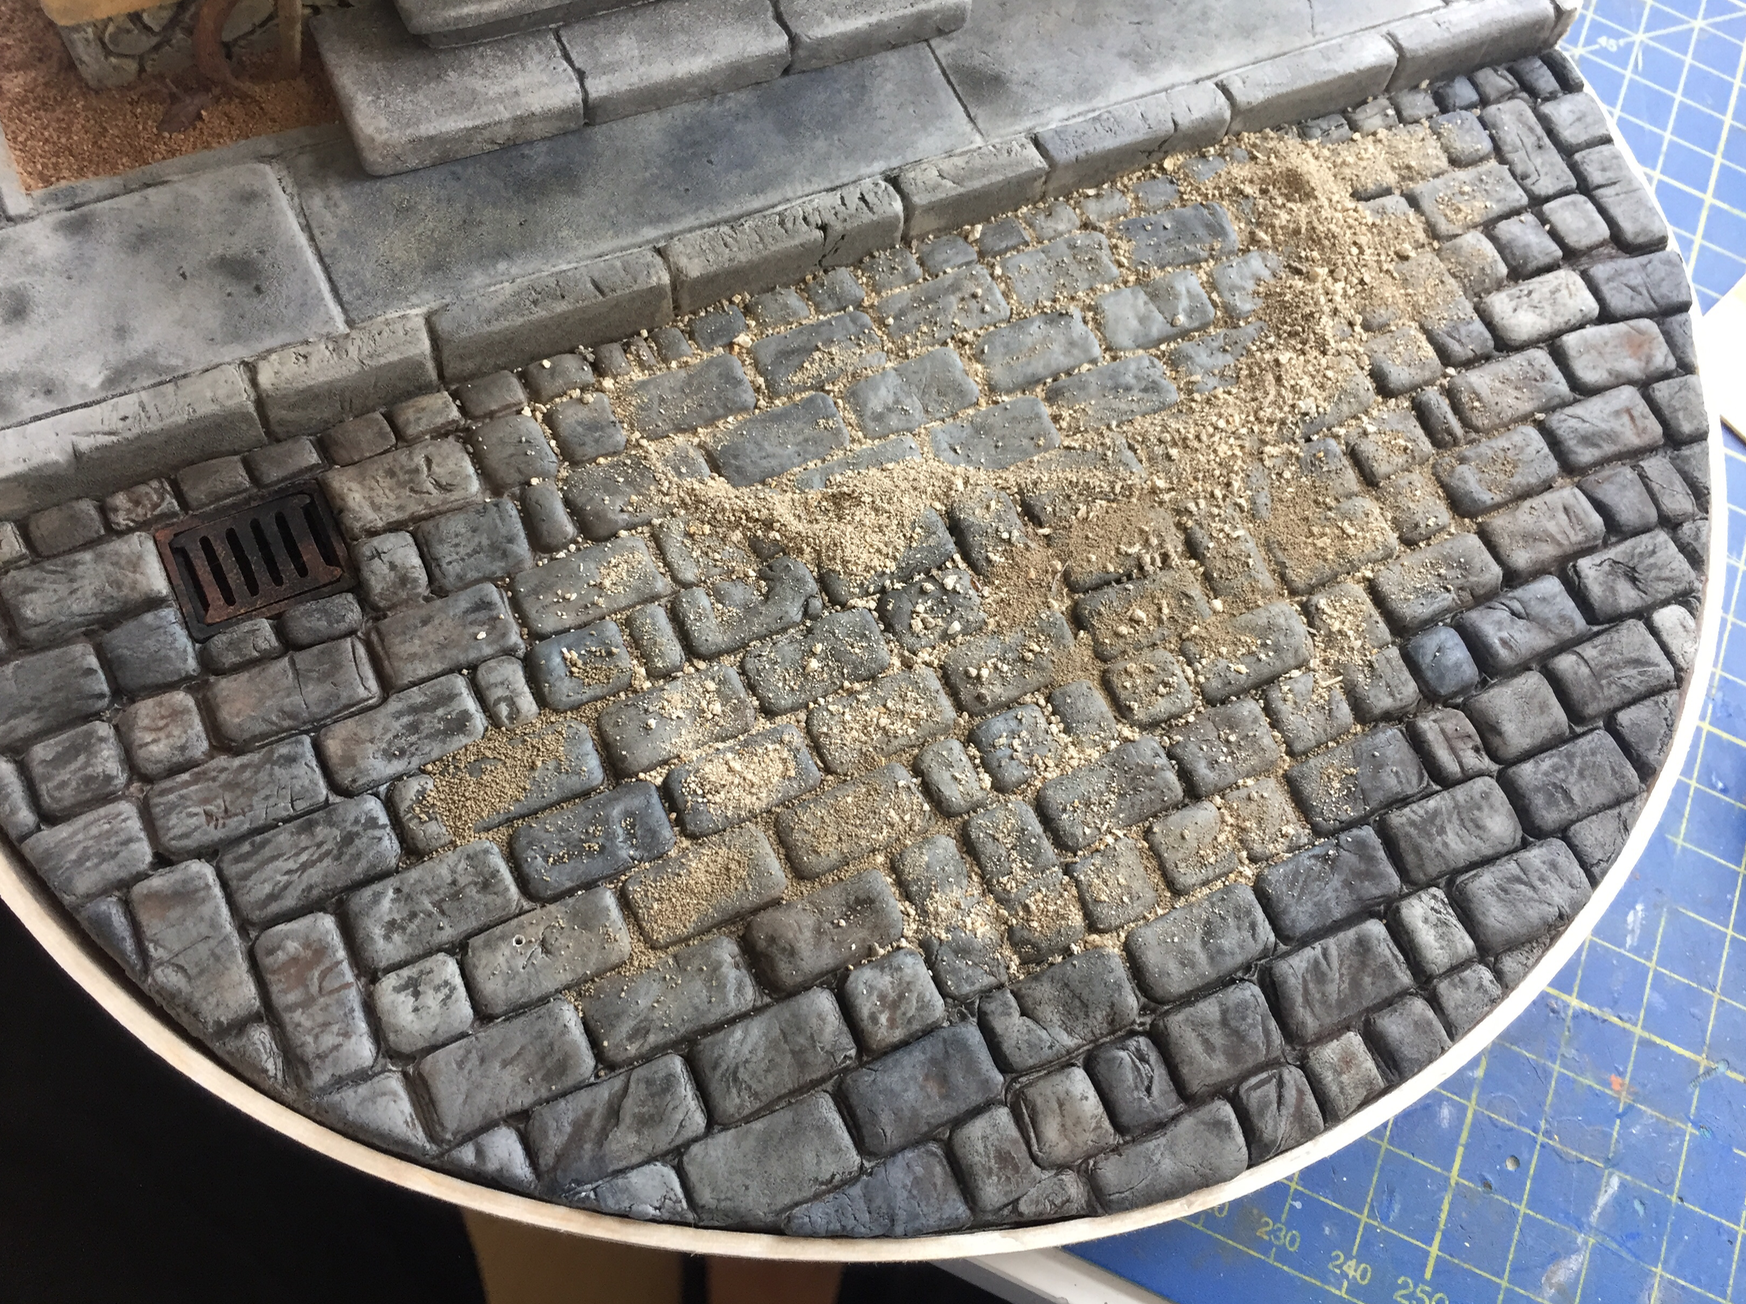

8. Once it was done I sent a picture of my friend who gave me a great advice. He didn’t liked it because it was too matt and a bit dull. He advised me to take a piece of a cloth and polish the top of stones gently. Well, as you can see it was that final touch that brought the cobblestone road a proper look.
