Building neon sign 1/24
When I showed my Winter is coming WIP diodrama to my friend,
he said there is something missing on the left side of the Provence house.
He suggested to put some nice neon sign on it.
I liked the idea so I jumped on it straight on.
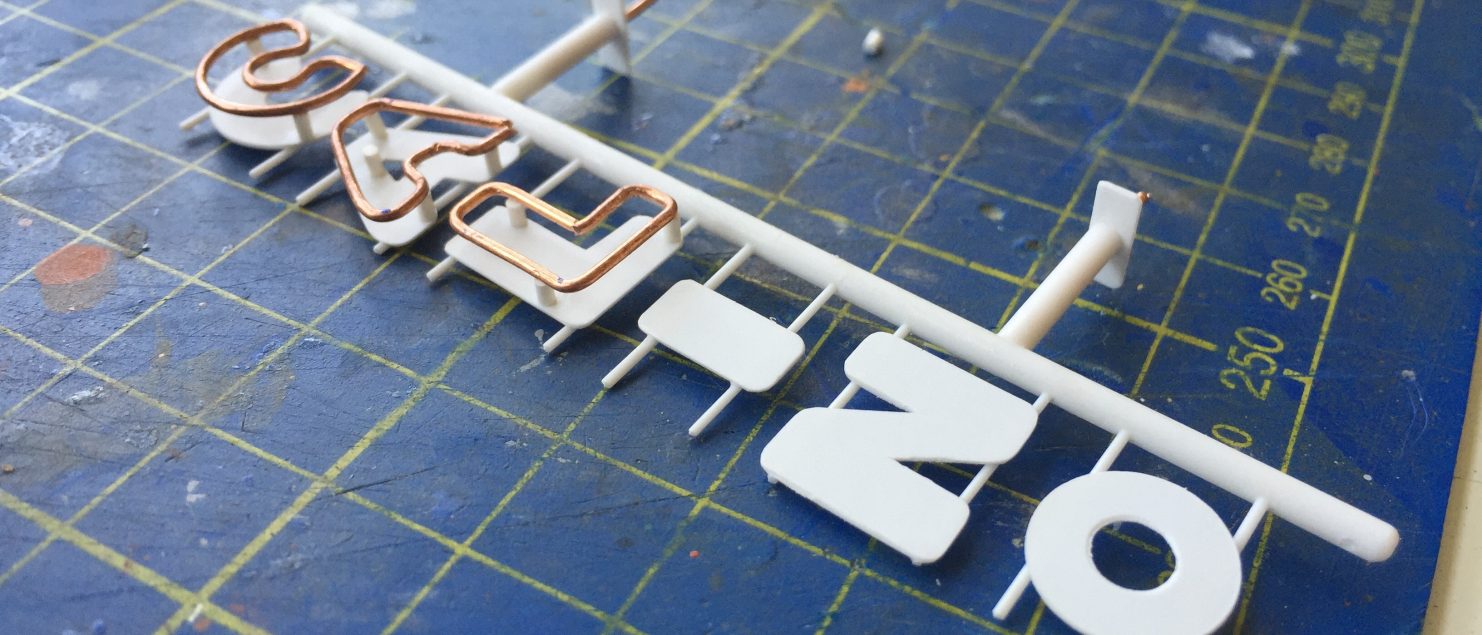
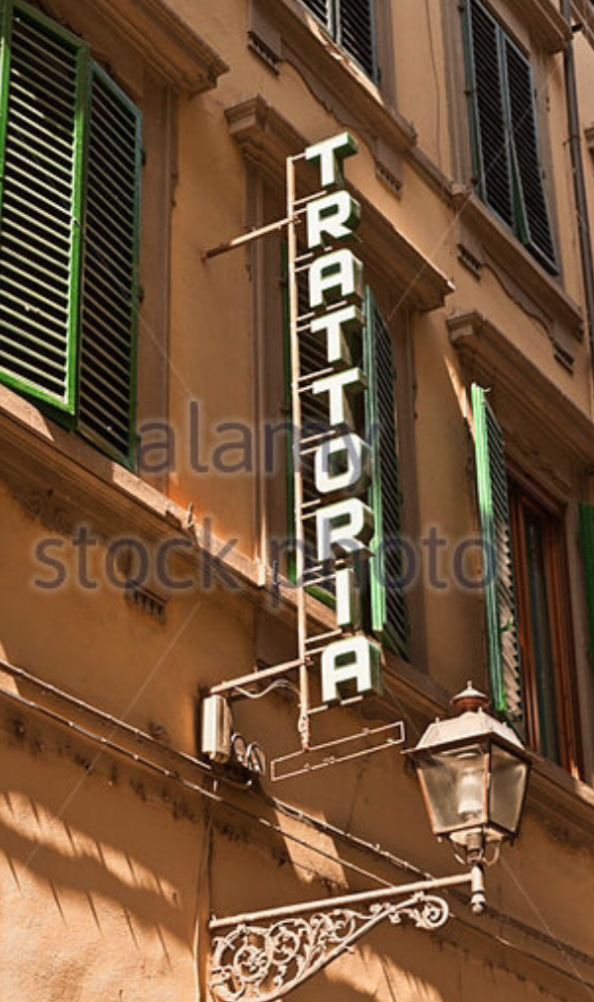
1. Name of the venue I decided to put on is completely made up. Friends’ nickname is Cali, so I choose Calino as a name. I didn’t want flat box sign, I wanted to go for something special. Something more complicated in composition so it will give diodrama nice final touch. As an inspiration I took those pictures:


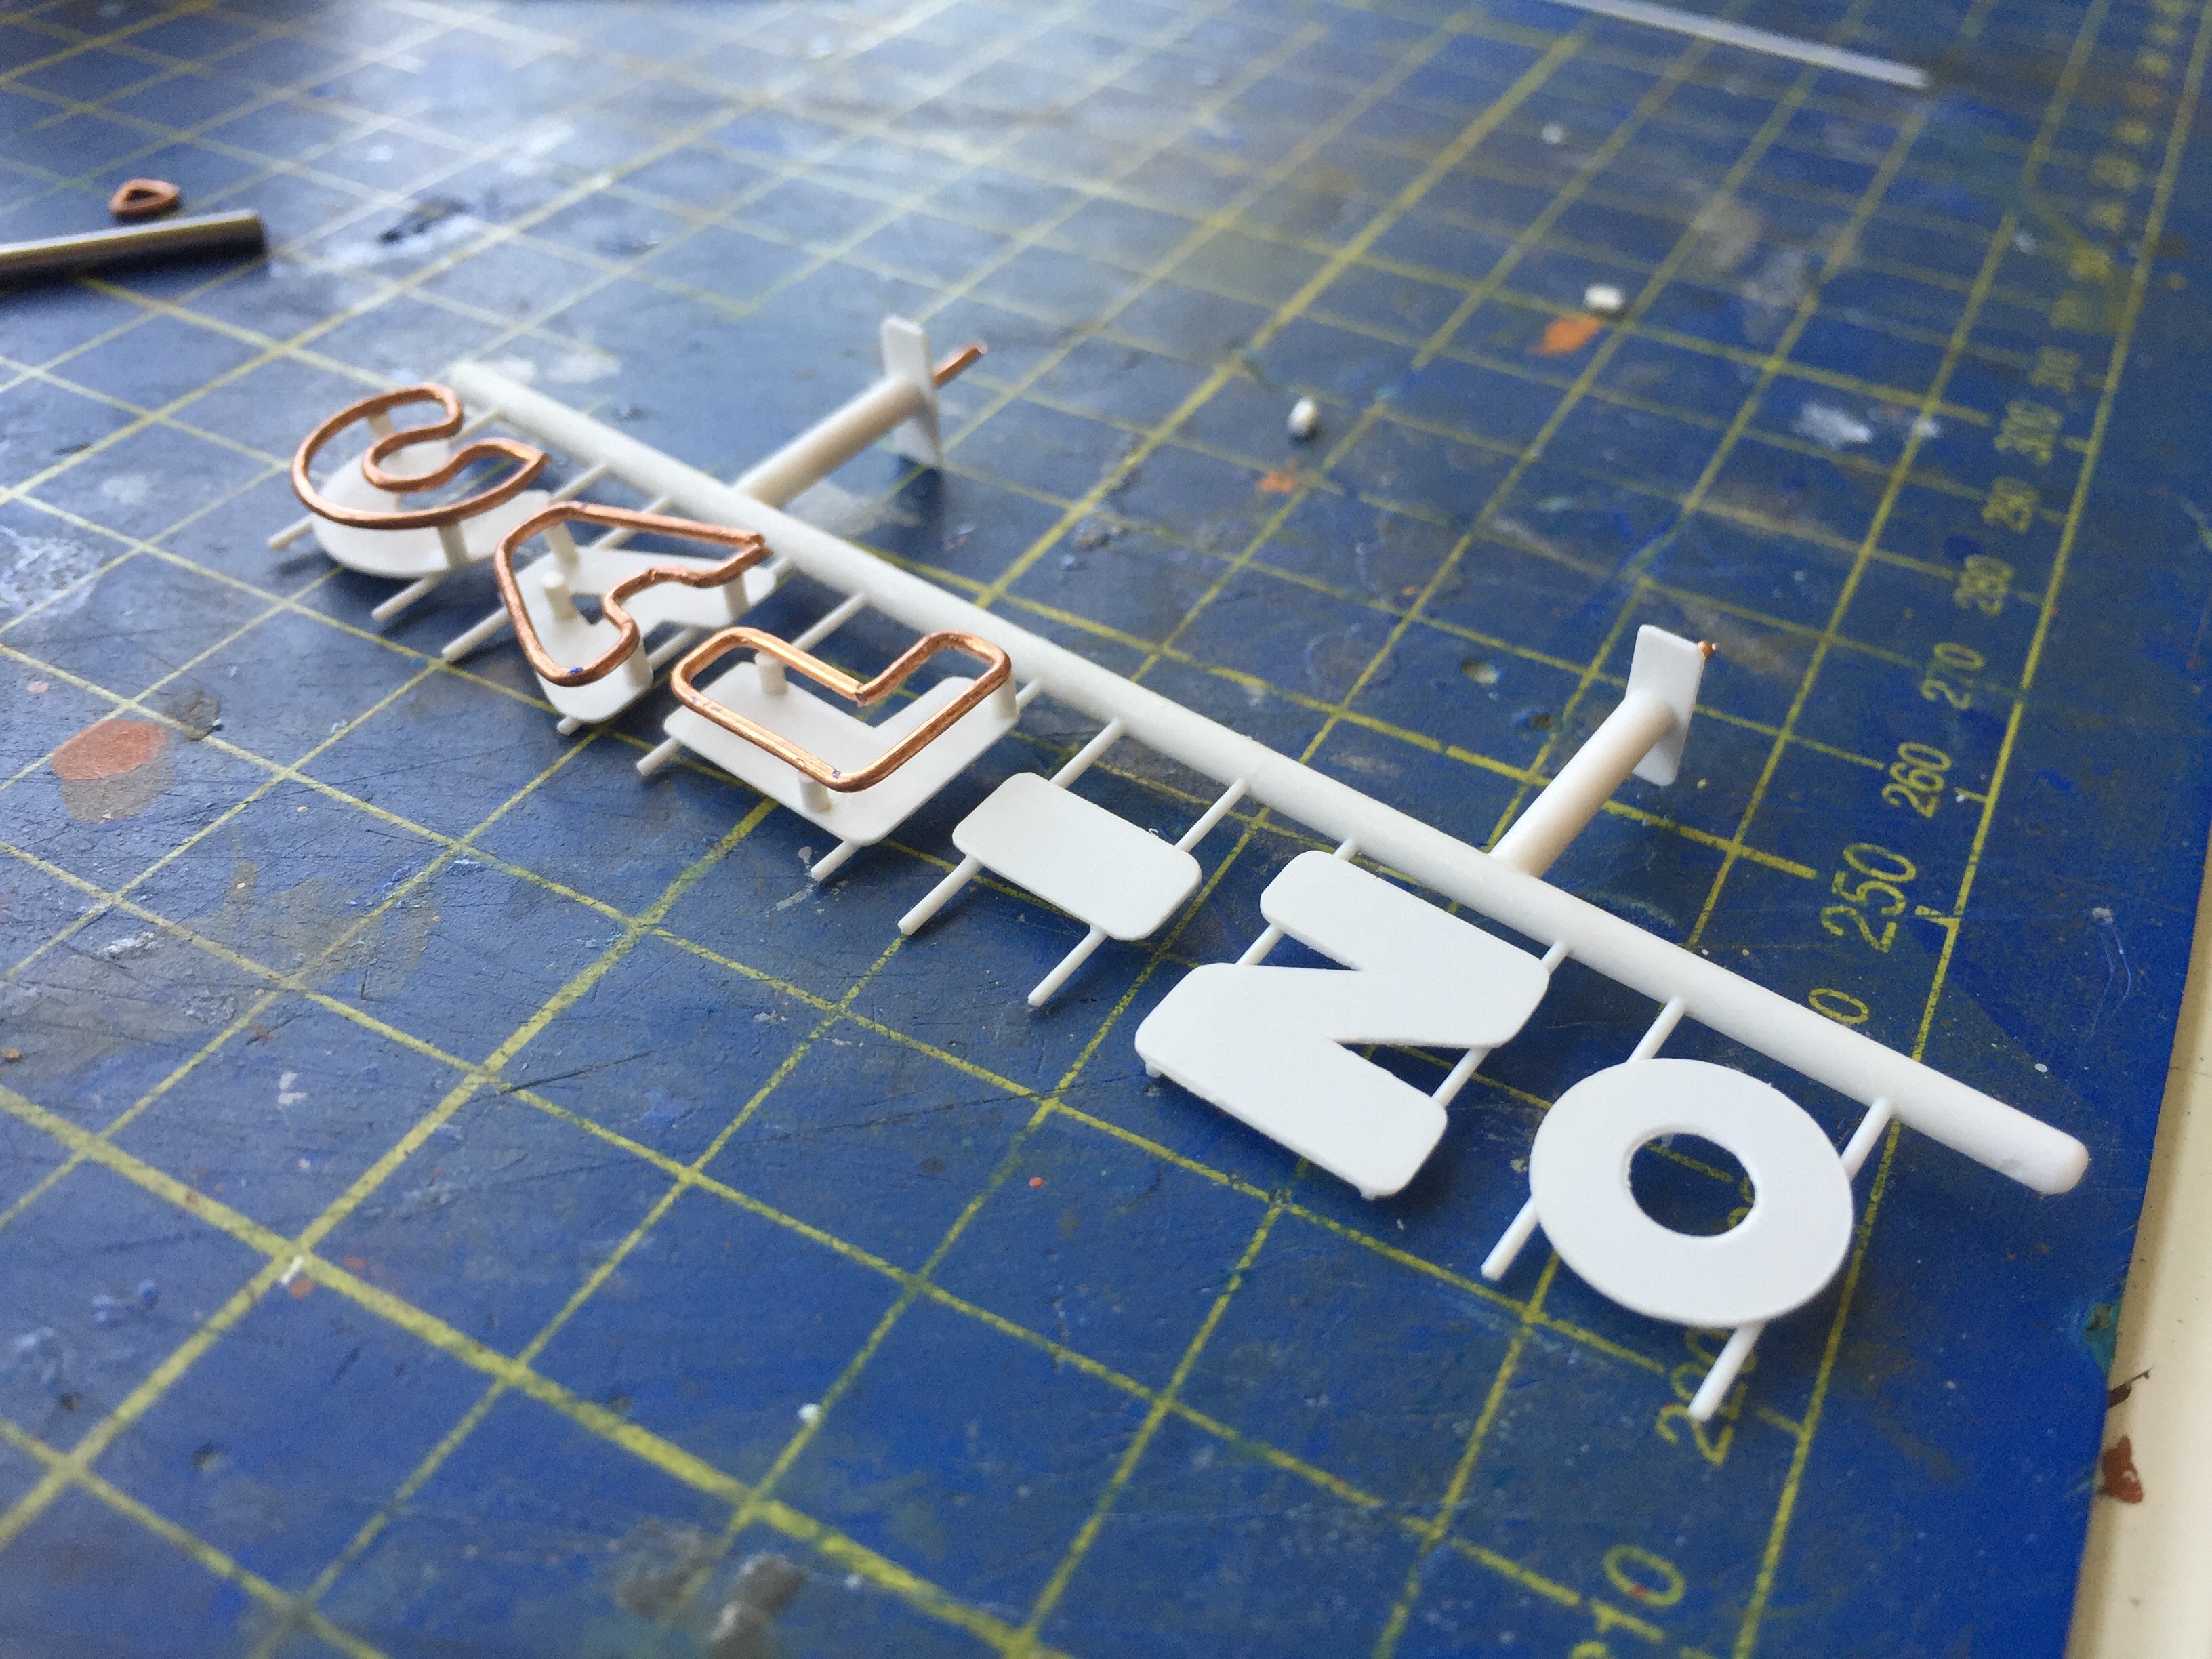
2. I get all the plastic rods, plastic sheets and plastic profiles ready. For shaping round curves of the letters I used my favourite Multi-Tool from Mission Models. For the record: At that time I didn’t have wire forming tool EZ BENDER from Du-bro, so the sharp edges and letter corners are not the finest I could possibly achieve. Next time…
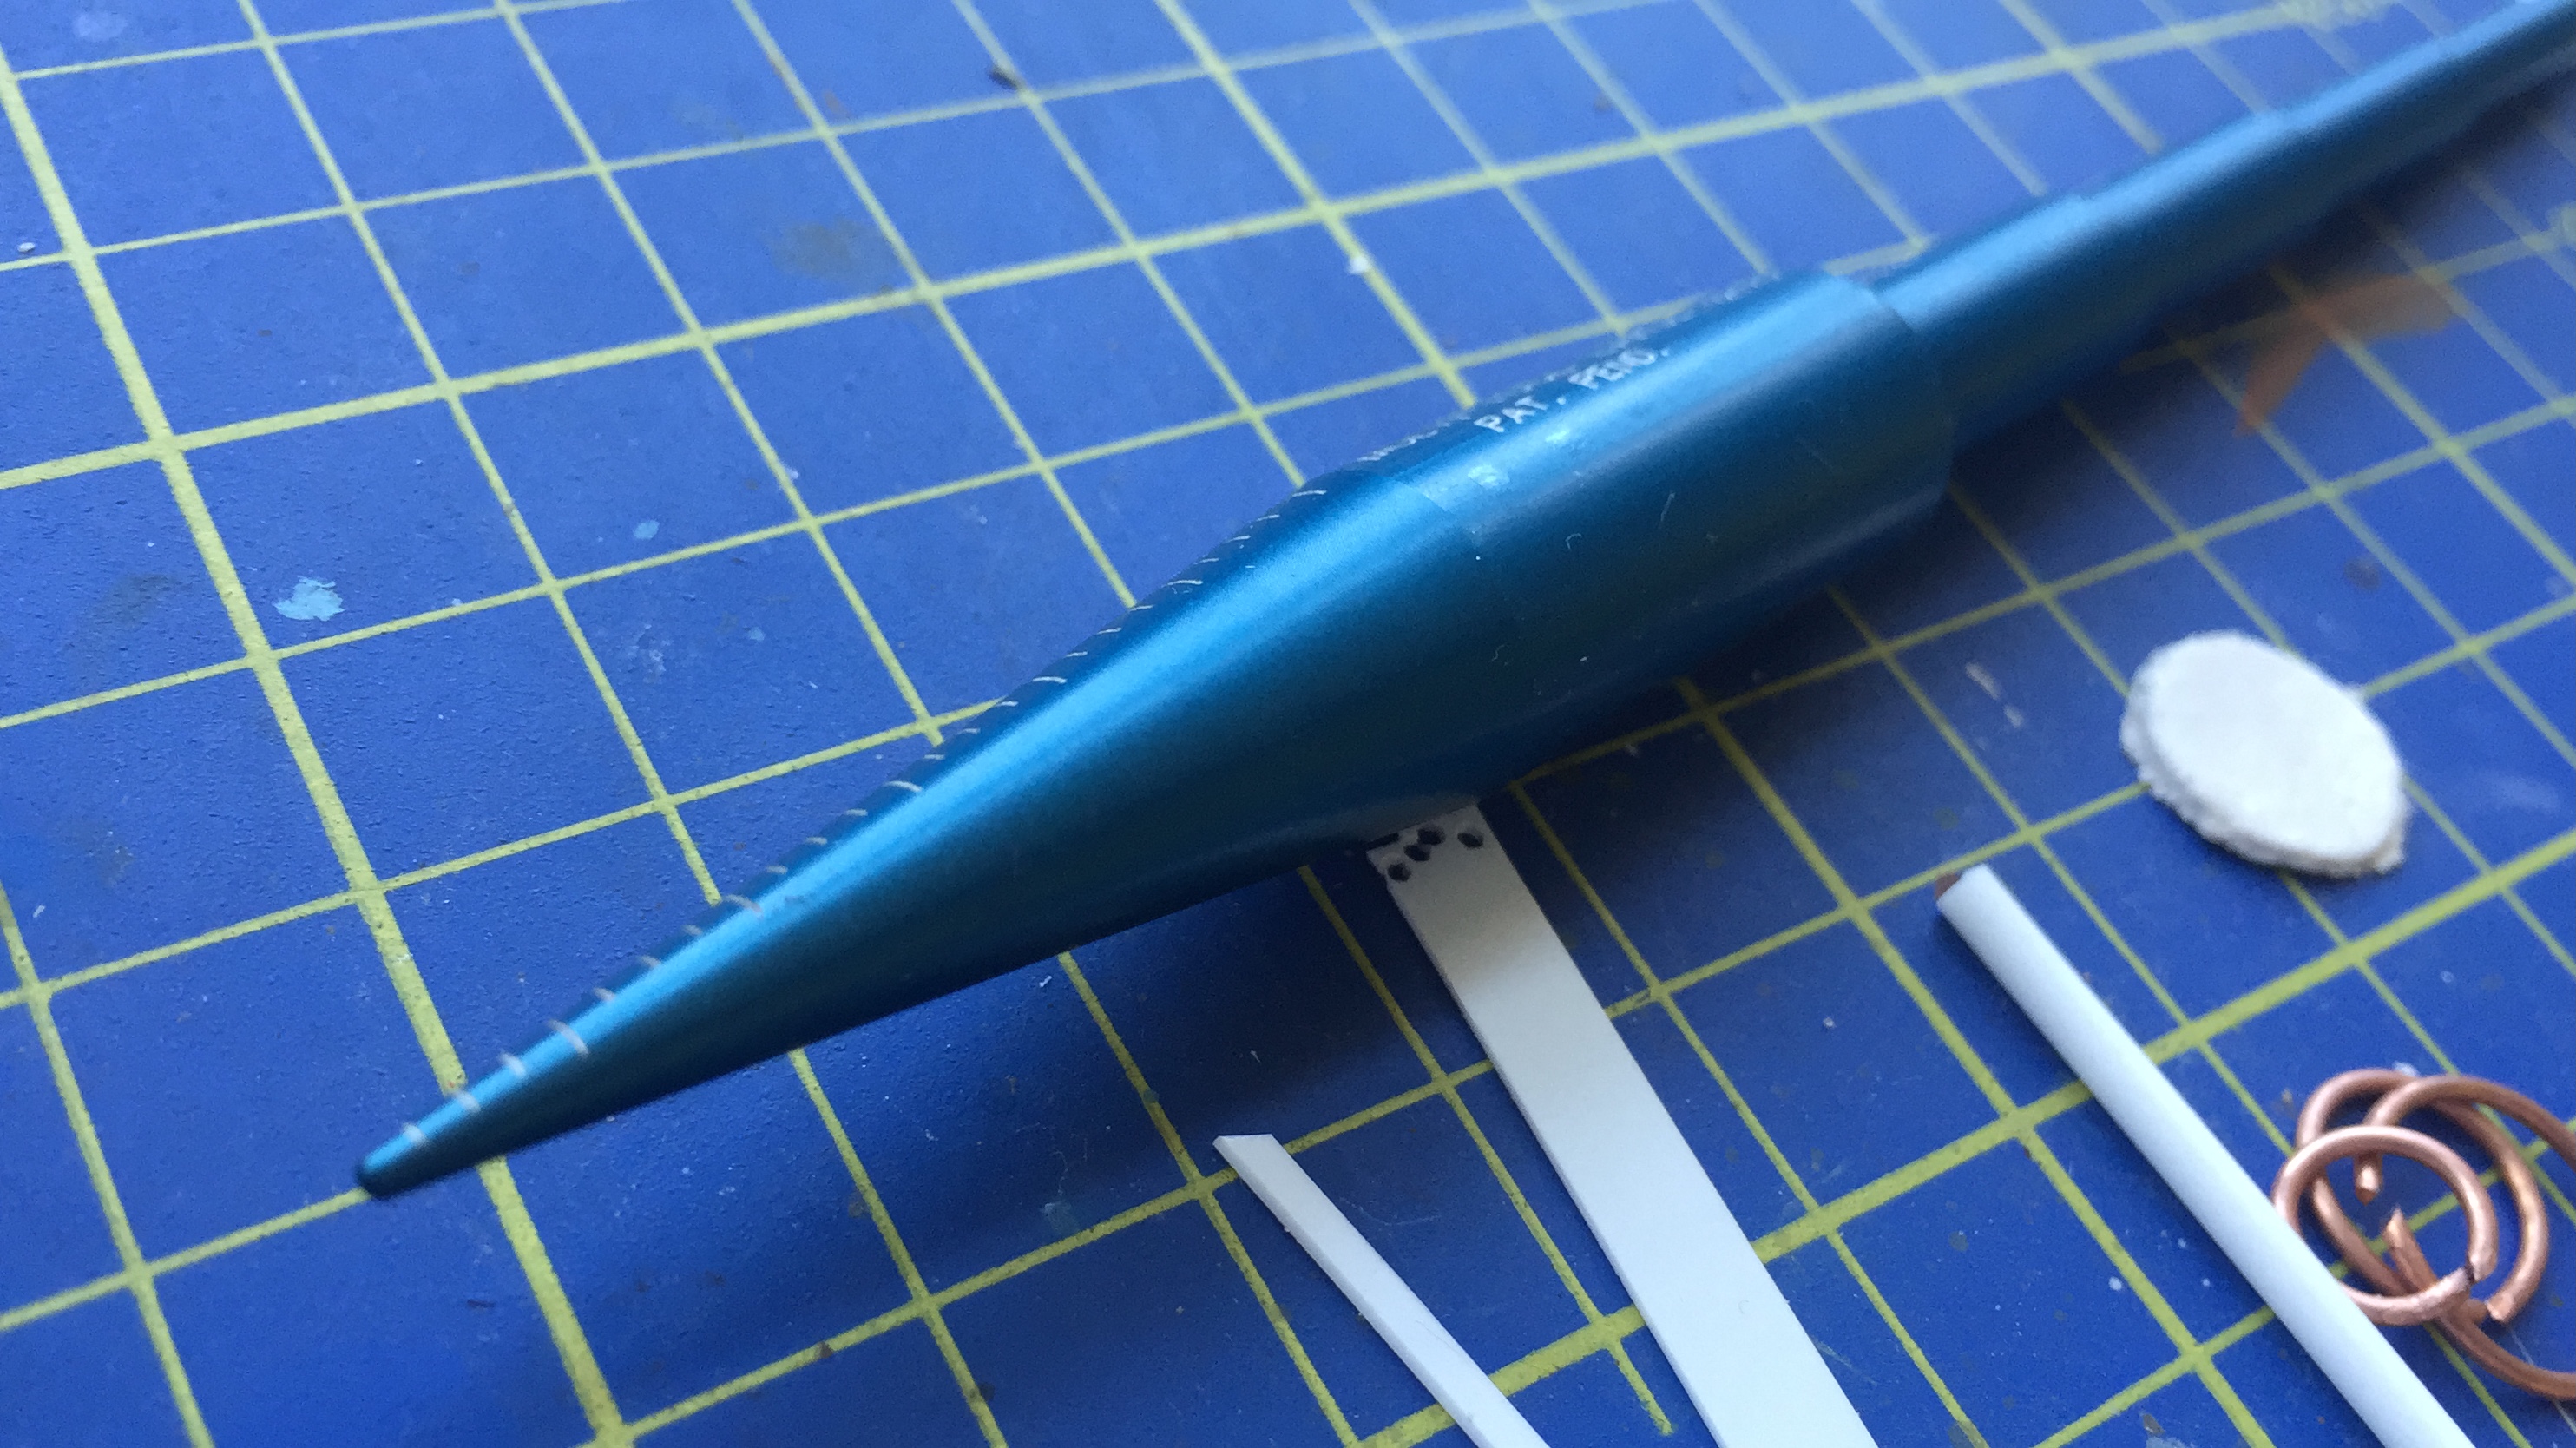


3. Basic skeleton is made of tube which both ends I sanded to achieve round shape. I drilled 6×2 small holes for thin plastic rods. They served well as a base for particular letters. The 13th hole / rod was left empty to be equipped with decent direction sign. Once I got all the neon letters formed from the copper wire, I retraced them one by one to plastic sheet, cut precisely and sanded gently.

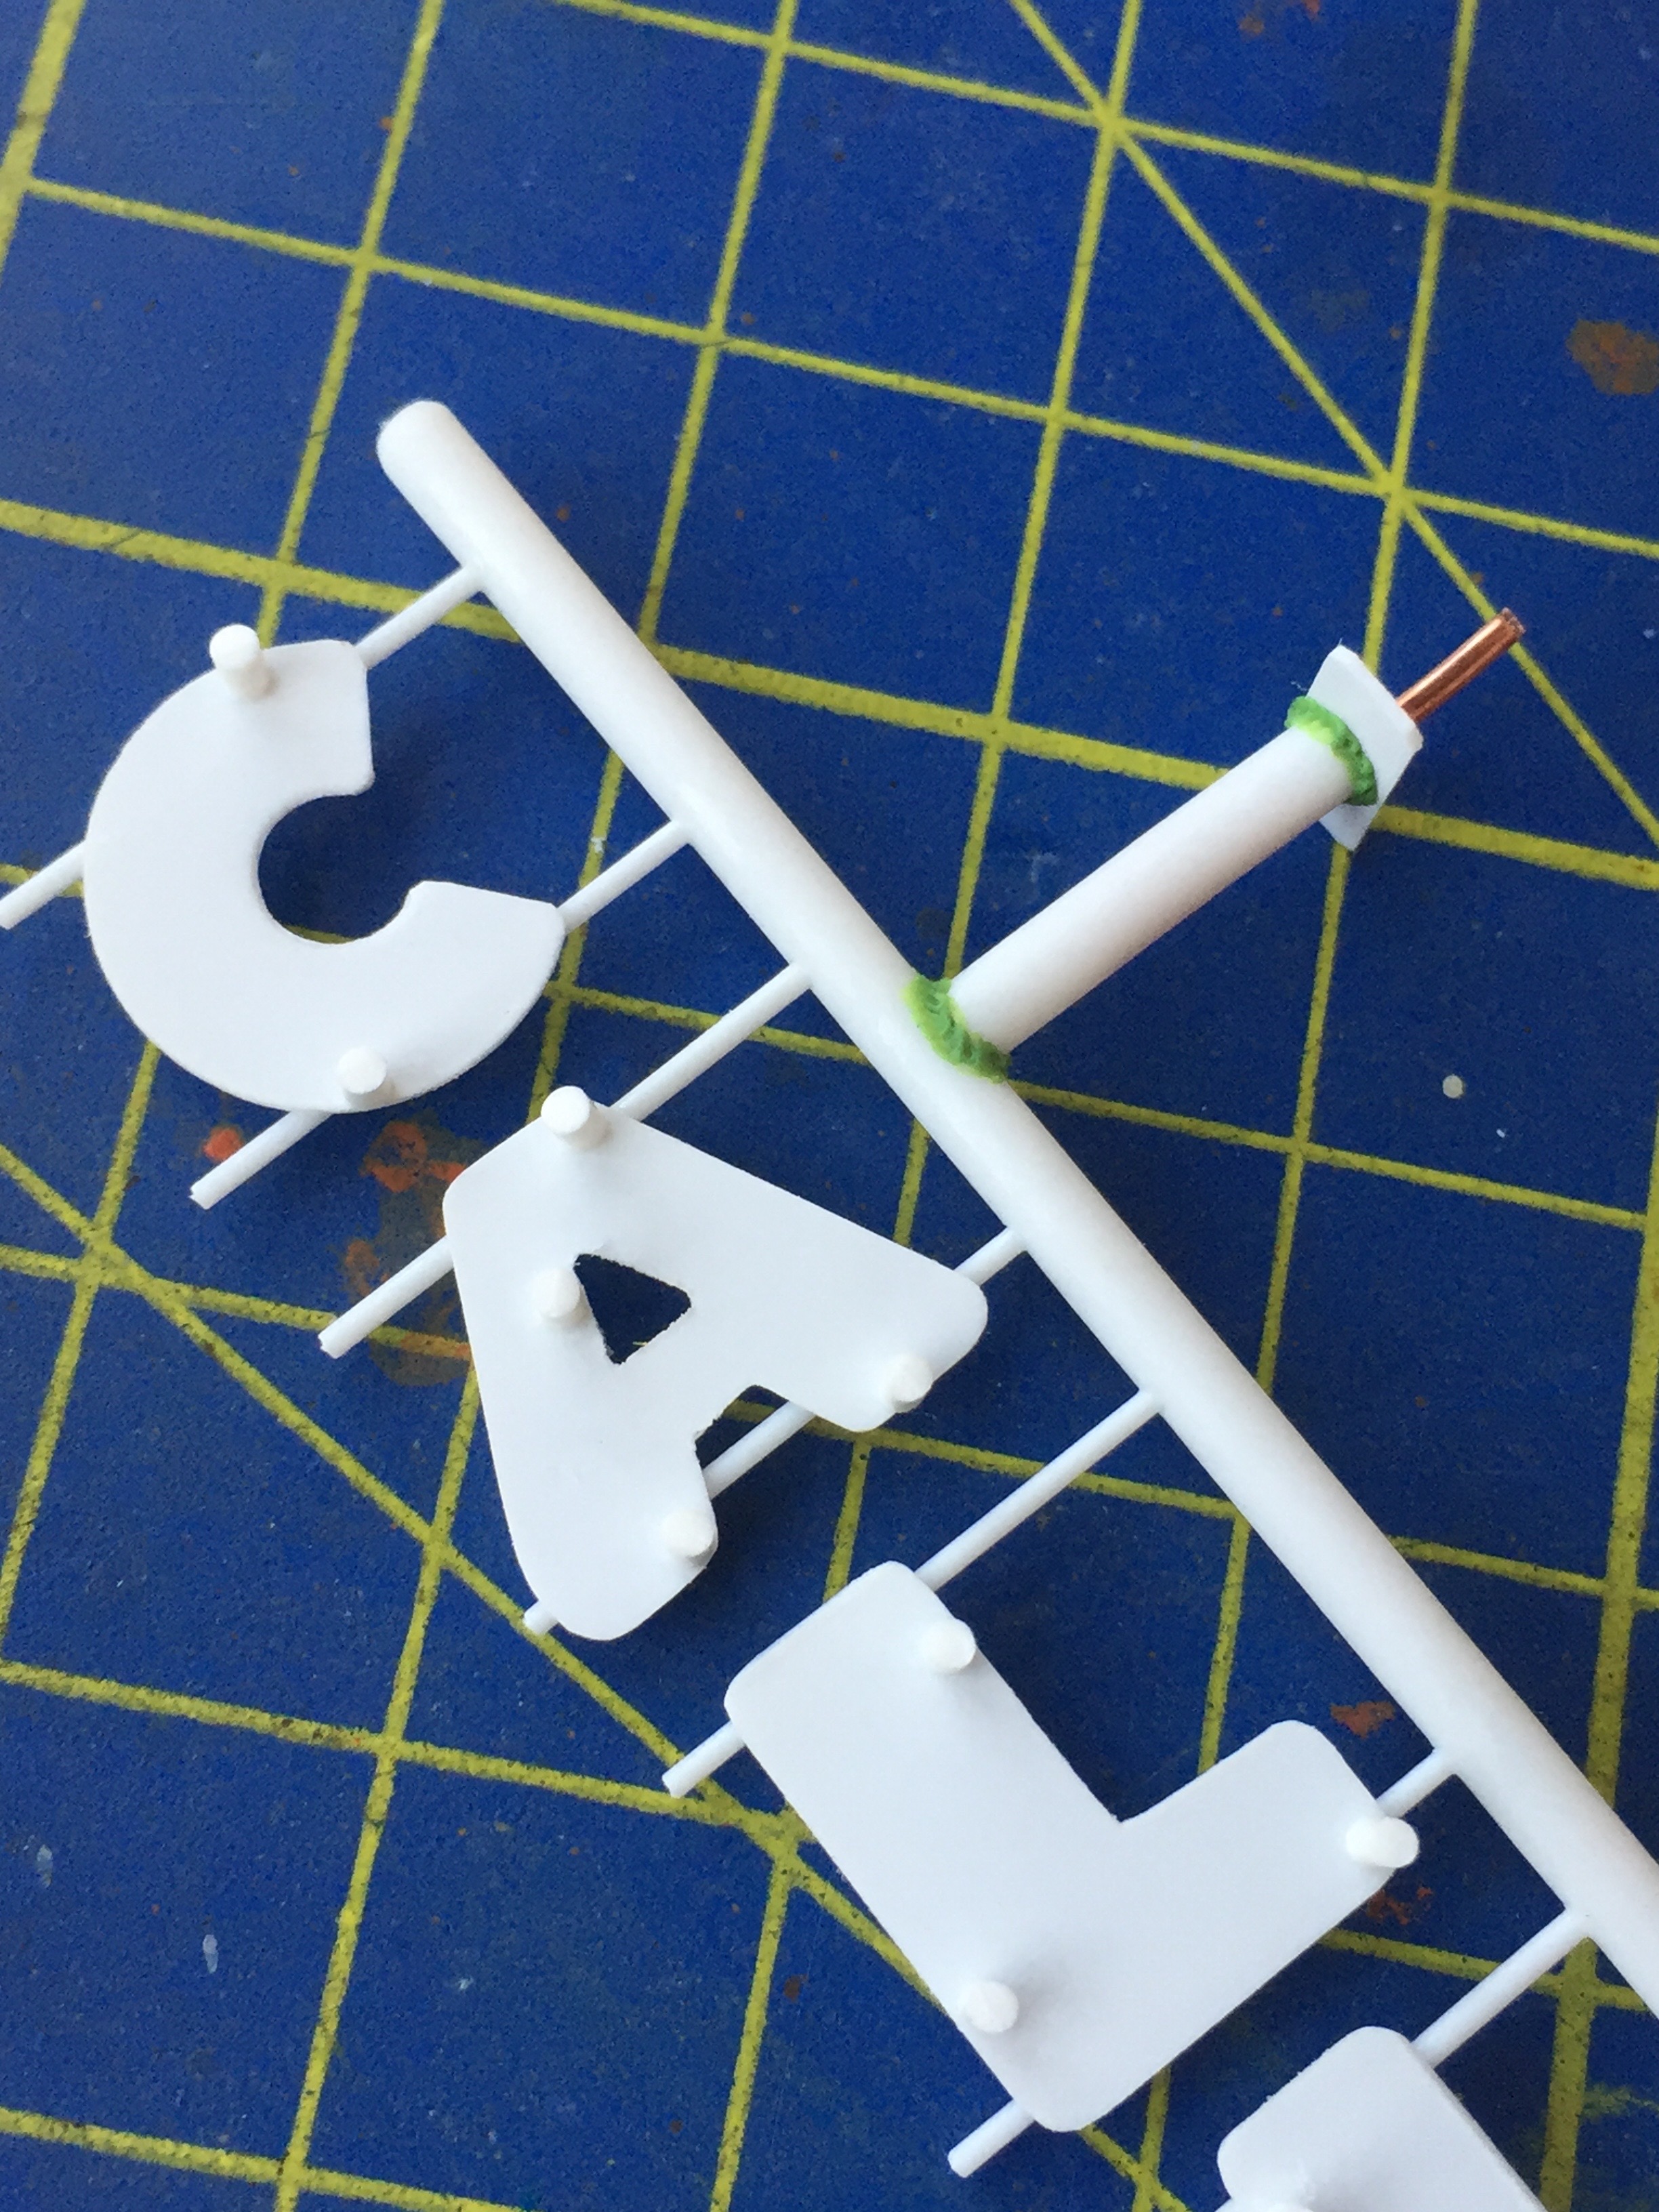
4. To reproduce welds I used easily forming green stuff putty Sylmasta. To ease the way how to mount the sign to the house wall, I simply sticked two short copper wires into the skeleton tubes.
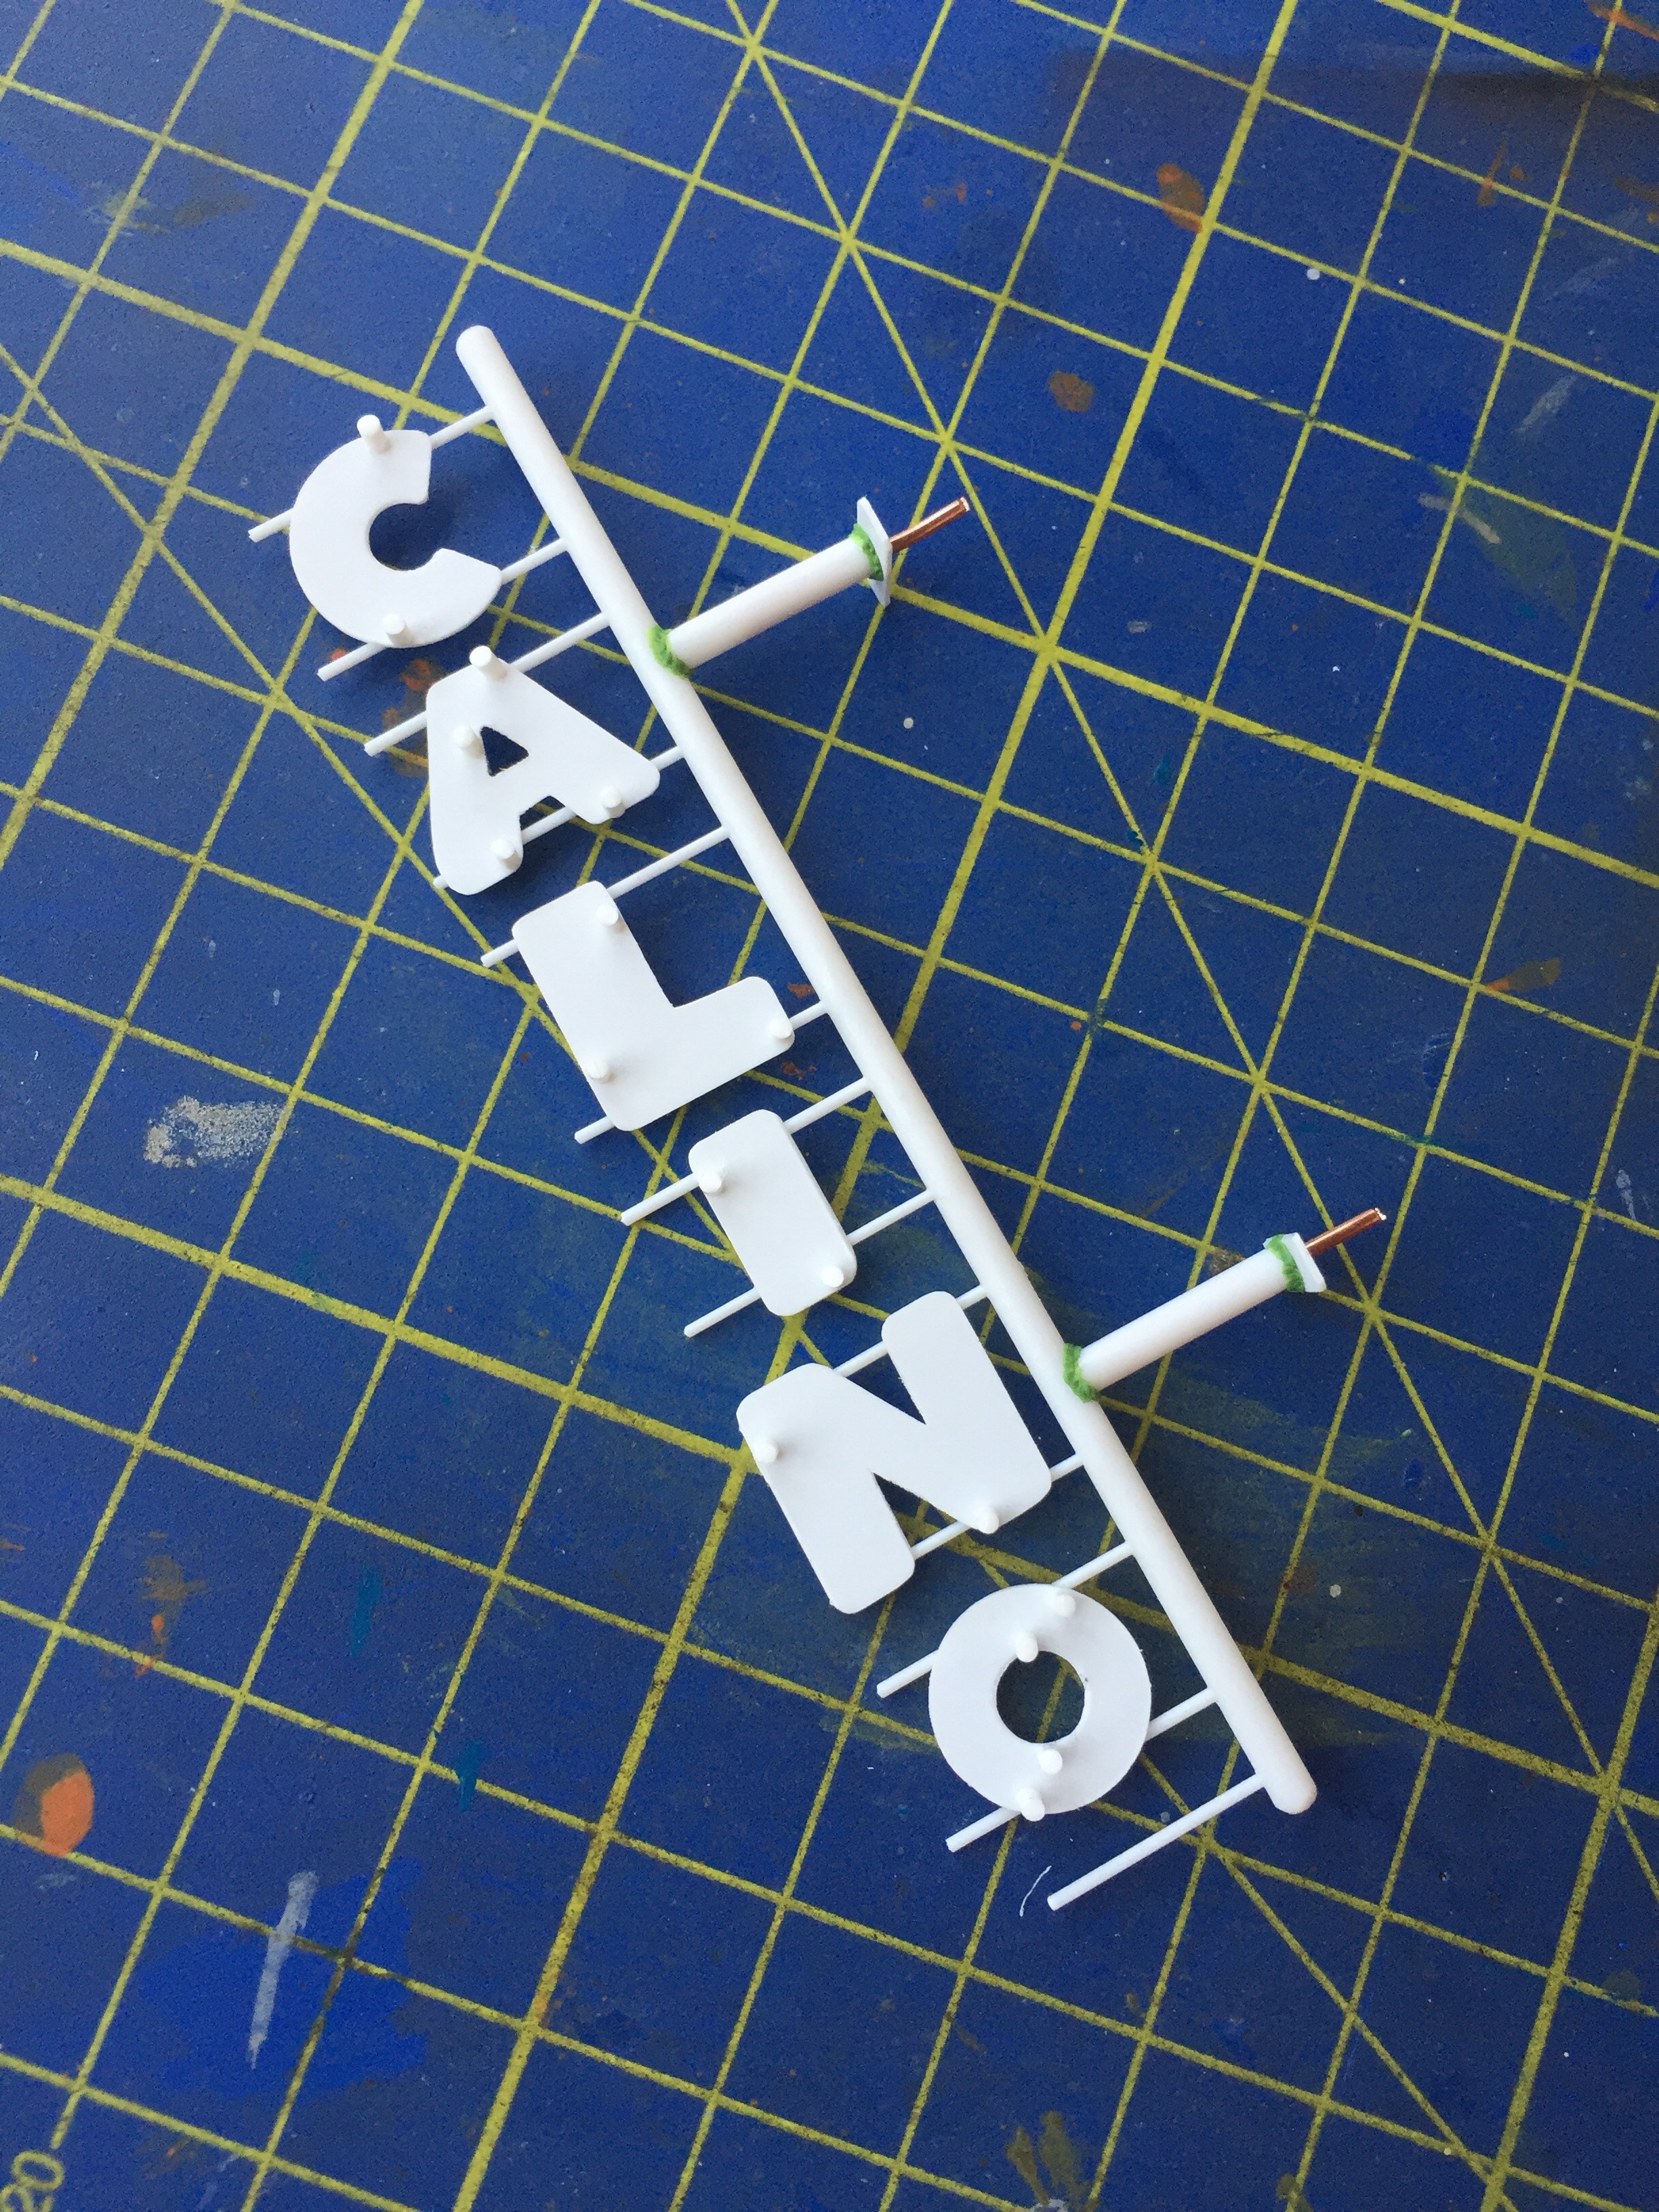
5. Then I cut bunch of 2.5mm long pieces of rod. I simply cemented them in no special order on plastic letters. They were suppose to work as a tiny pillars for the neon letters.
If interested, here you can find more about the wiring and painting process of the neon sign.